How to Make a Bonnet for a Baby Doll
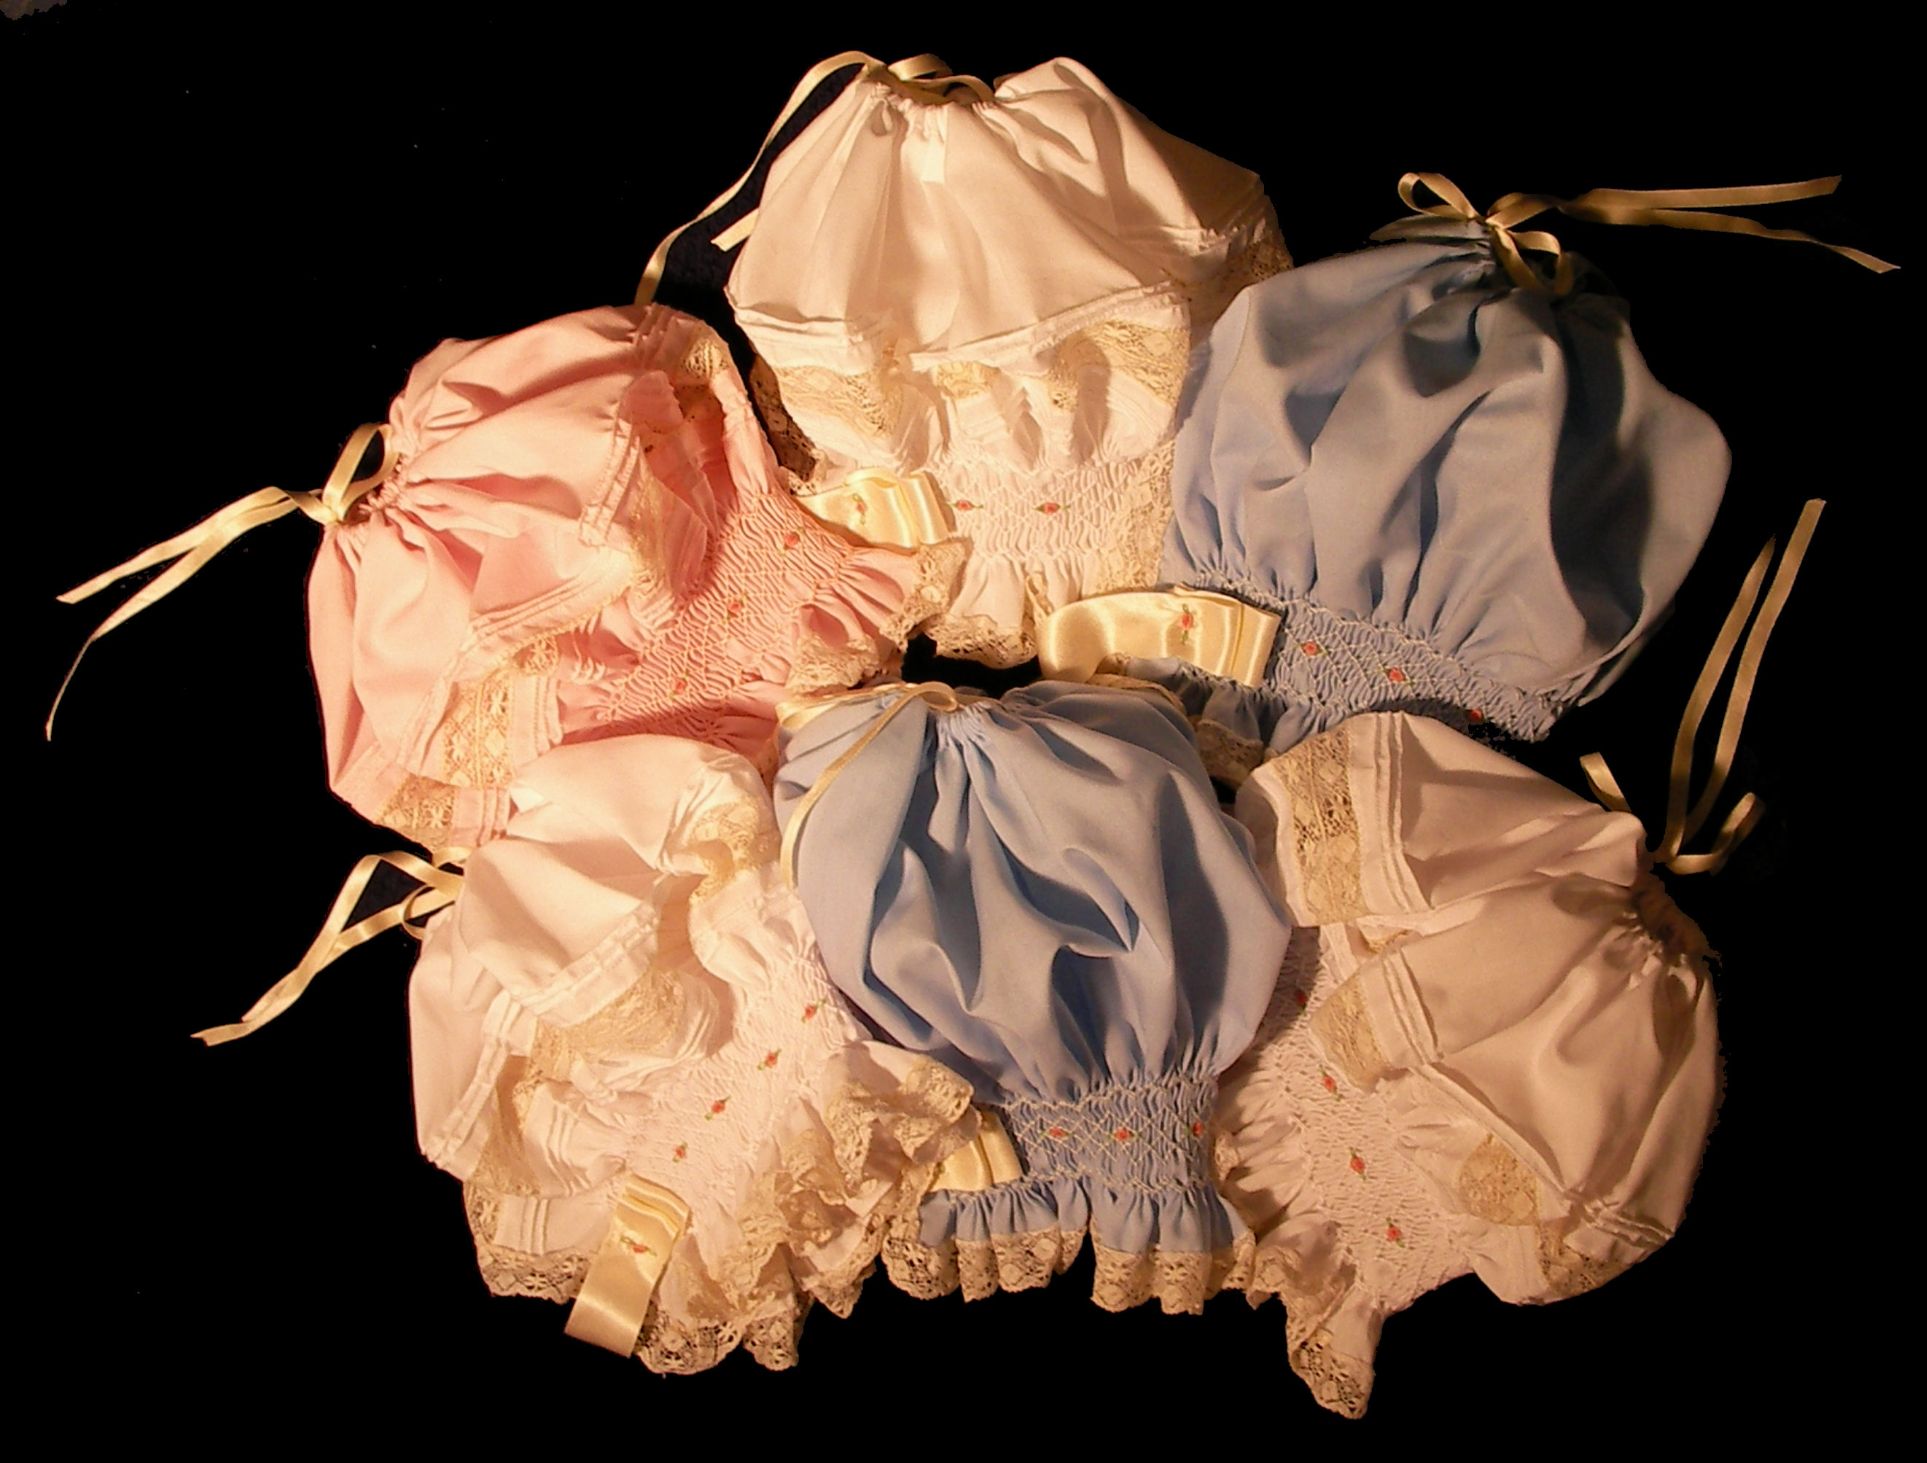 How To Brand a Paw Smocked Baby'southward Bonnet
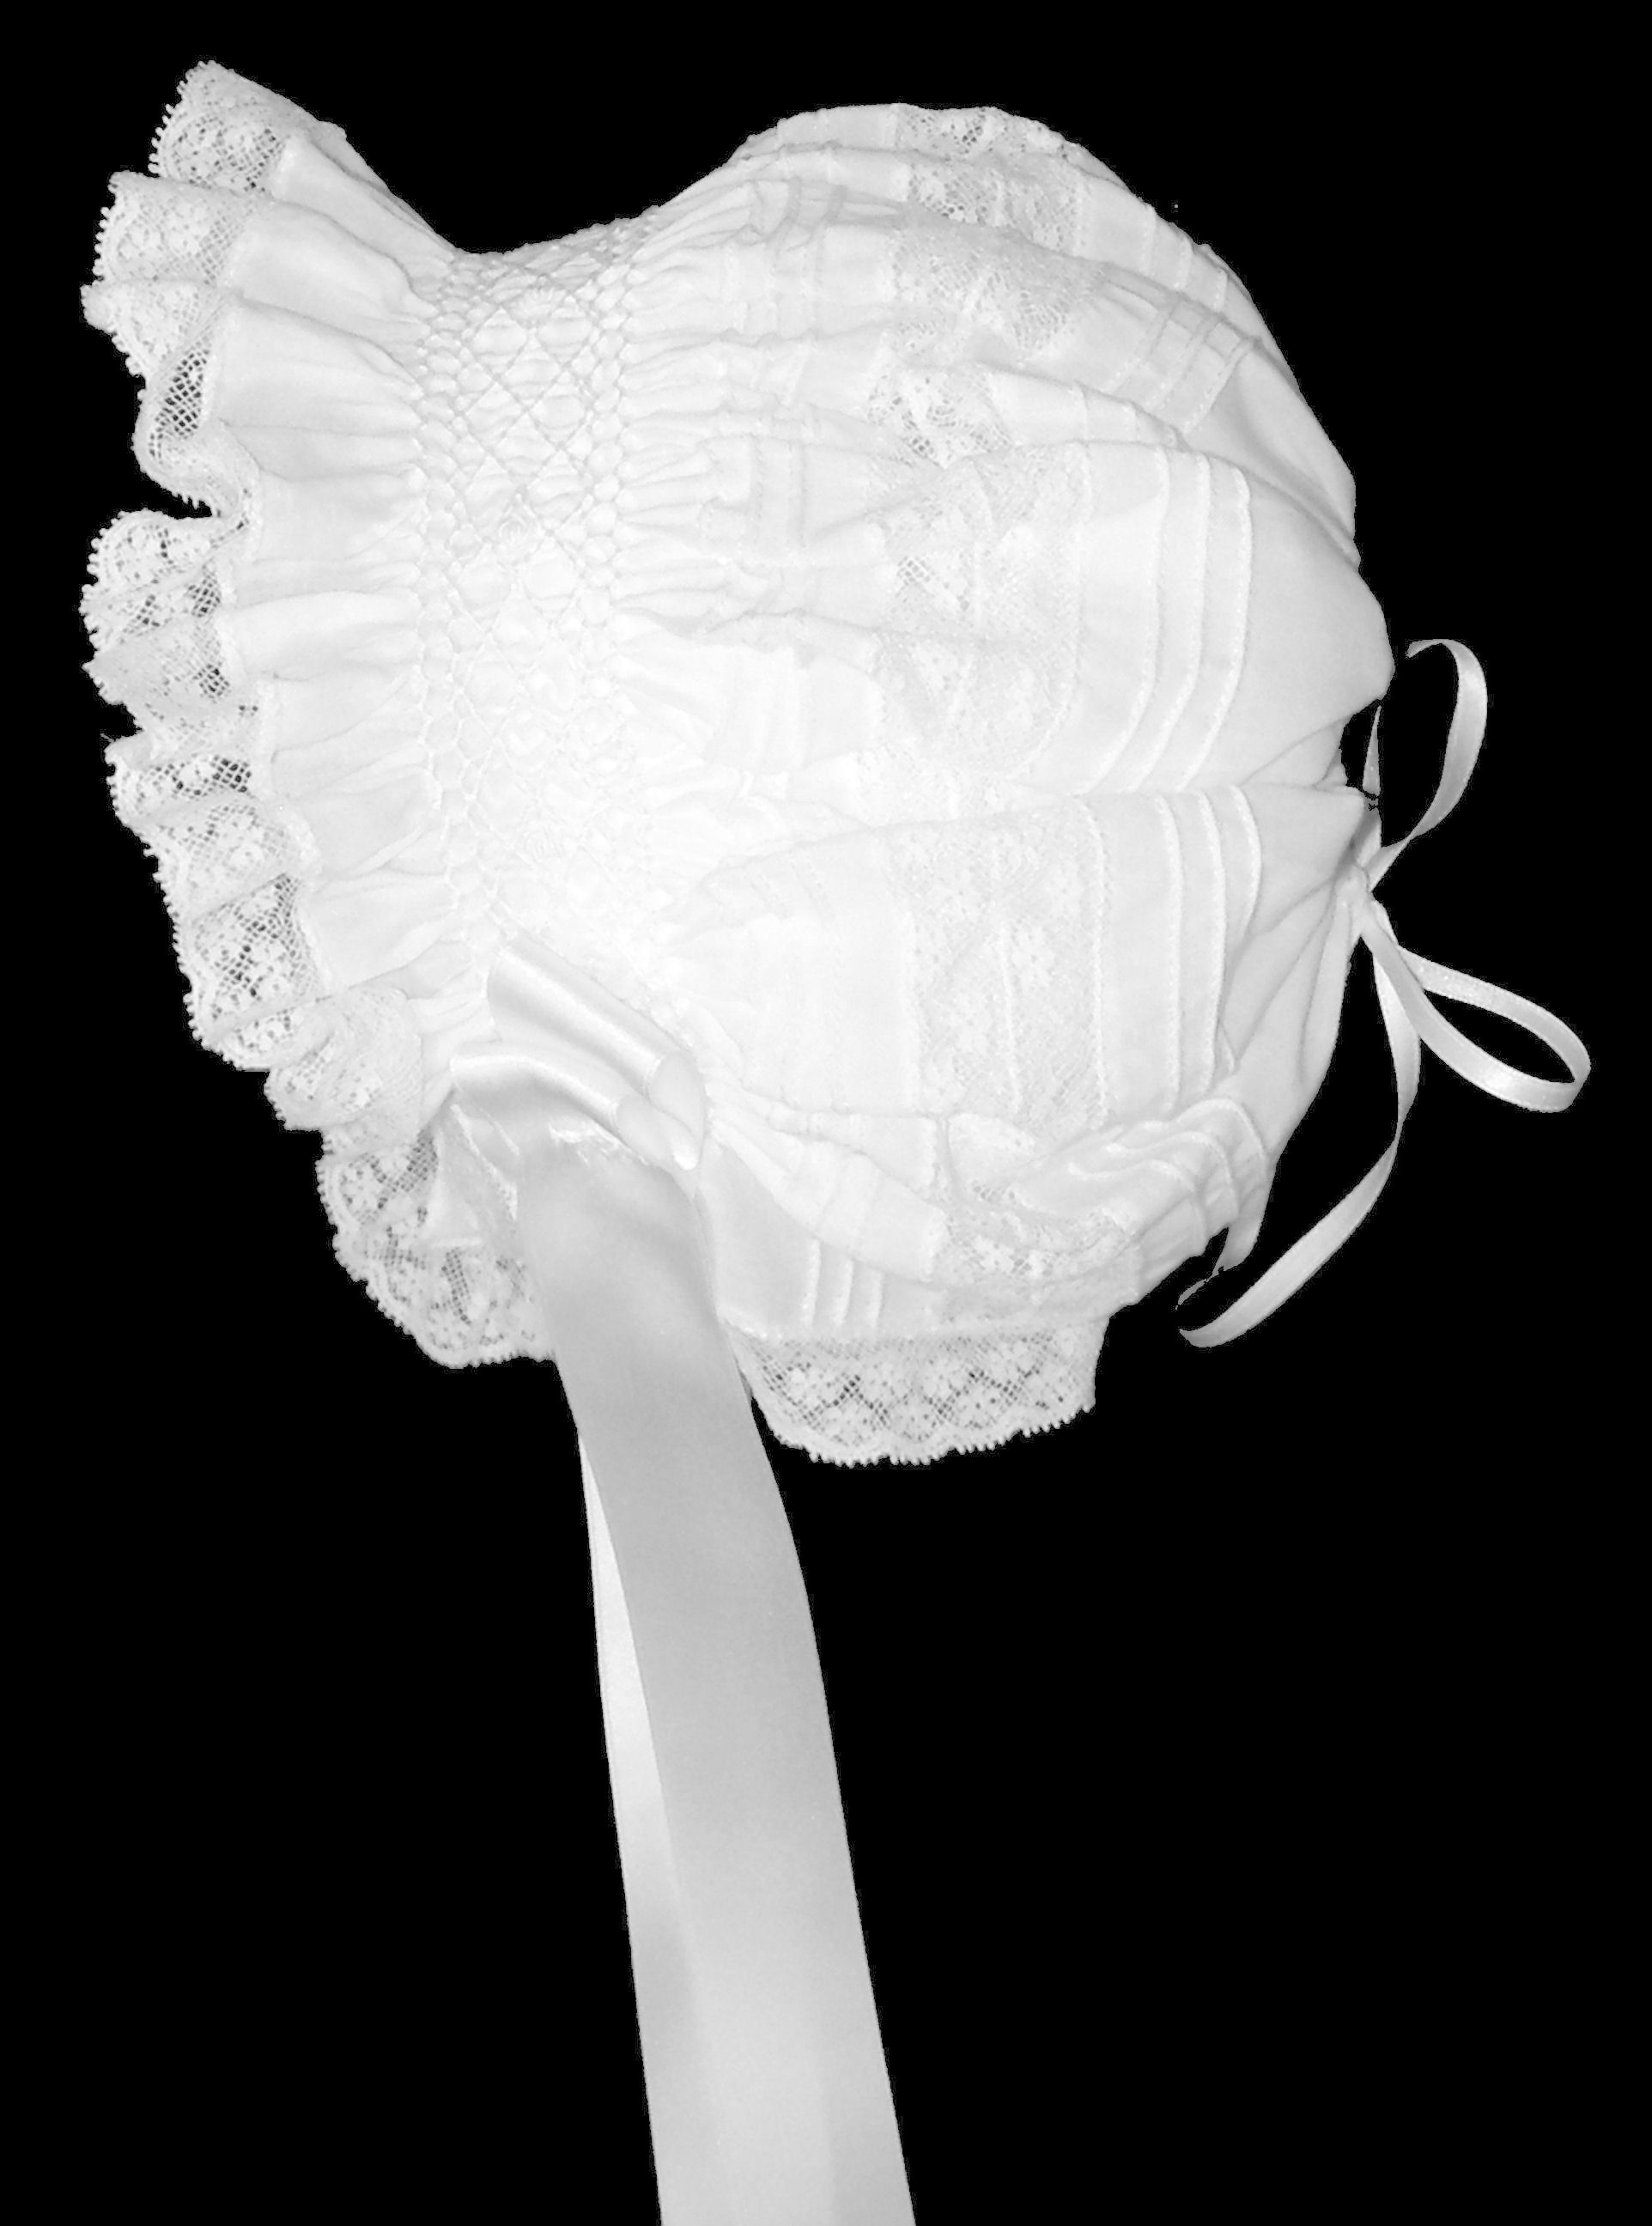
These instructions utilize to the baby bonnet sizes shown in the following table. For these sizes, the all-time results are obtained using fabric of approximately 44" (112 cm) wide, from selvage to selvage.
| Size | Description | Length (inches) | Length (cm) | Blocking length (inches) | Blocking length (cm) |
| Extra extra small | Preemie | 7 | 18 | 10 | 25 |
| Extra small | New born | 7 ½ | 19 | x ½ | 27 |
| Small | half-dozen months | viii | 20 | xi | 28 |
| Medium | 12 months | eight ½ | 22 | 11 ½ | 29 |
| Large | eighteen months | nine | 23 | 12 | 30 |
| Extra large | 2 Toddler | 9 ½ | 24 | 12 ½ | 32 |
| Actress extra large | 3 Toddler | 10 | 25 | 13 | 33 |
Note: The different lengths of the infant bonnets vary in ½" increments from size to size. The preceding table also shows the approximate length of the smocked area's blocking length equally measured from ear lobe to ear lobe over the tiptop of the caput. This length differs also in ½" increments from size to size. Add together ½" for larger or subtract ½" for smaller size.
 What is Needed
44" (112 cm) wide material (the length depending on the size shown in the preceding table)
1 ¾ yds (152 cm) one" (2.5 cm) broad edging lace
1 ¼ yds (114 cm) one" (2.5 cm) wide insertion lace
1 i/viii yds (103 cm) 1" (2.5 cm) wide double sided pure silk satin ribbon
¾ yd (61 cm) 1/8" (iii mm) wide double sided pure silk satin ribbon
3.5" (9 cm) piece of entredusx
Pleater, Pleater needles
Hand quilting thread in two (two) contrasting colors such as orange and blue.
Smocking pattern of choice
Cotton fiber darner needles for the hand smocking
Water soluble mark
Scissors
Measuring record
Ruler (optional)
Rotary cutter (optional)
Milliner needles (for bullion knots stitches, recommended)
Sewing car, Sewing machine needles (suggested universal 70/10), Zigzag foot
Double (twin) needles (two/80 for pintucks, optional)
Pintucks cord (for pintucks, optional)
Fine auto thread
Fine auto embroidery thread (100 % cotton recommended for the pintucks)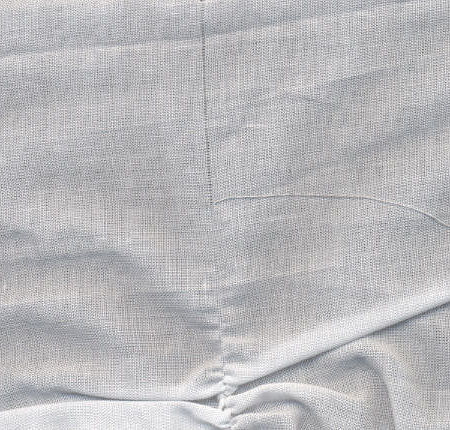
DMC floss (for the smocking pattern and smocking embroidered enhancement)
Preparing the Cloth
Straighten the edge of the fabric by pulling a thread forth the width then cutting along the line marked by the pulled thread.
Y'all want a rectangle that is the width of the fabric (unremarkably 44" [112 cm]) by the "length" equally shown in the third cavalcade of the preceding table.
In these instructions the 44" width is used although the Superfina fabric is 38" wide and the Nelona material is 55" wide.
The following instructions will non change with the different sizes of bonnet.
The edge that is going to be pleated is ane (1) of the 44" long edges. The other 44" long side is the crown edge.
The narrow edges of the rectangle are to exist part of the bonnet's neckline.
In addition, the pleating is going to occupy approximately 2" (5 cm) and the pleating is going to be washed about i" (two.five cm) from the long border.
Spray the piece with heavy starch in grooming for pleating. While the cloth dries set up the threads for pleating. The piece may be also dried by pressing.
CLICK ON Any OF THE Following PICTURES TO Meet A 'CLOSE Upwardly VIEW'.
 Cut hand sewing quilting thread in two dissimilar colors (I use orange and blue) at least one (1) inch longer than the width of the cloth. In this example, the textile is 44" from selvage to selvage, the pleating threads are to exist a minimum of 45" (114 cm) long. We cut six (6) orangish threads and v (five) blue threads. This length of the pleating threads is of import because you must be able to flatten the piece subsequently pleating to allow adding lace to the edge and adding other enhancements such as pintucks, tucks, and lace in the body of the bonnet.
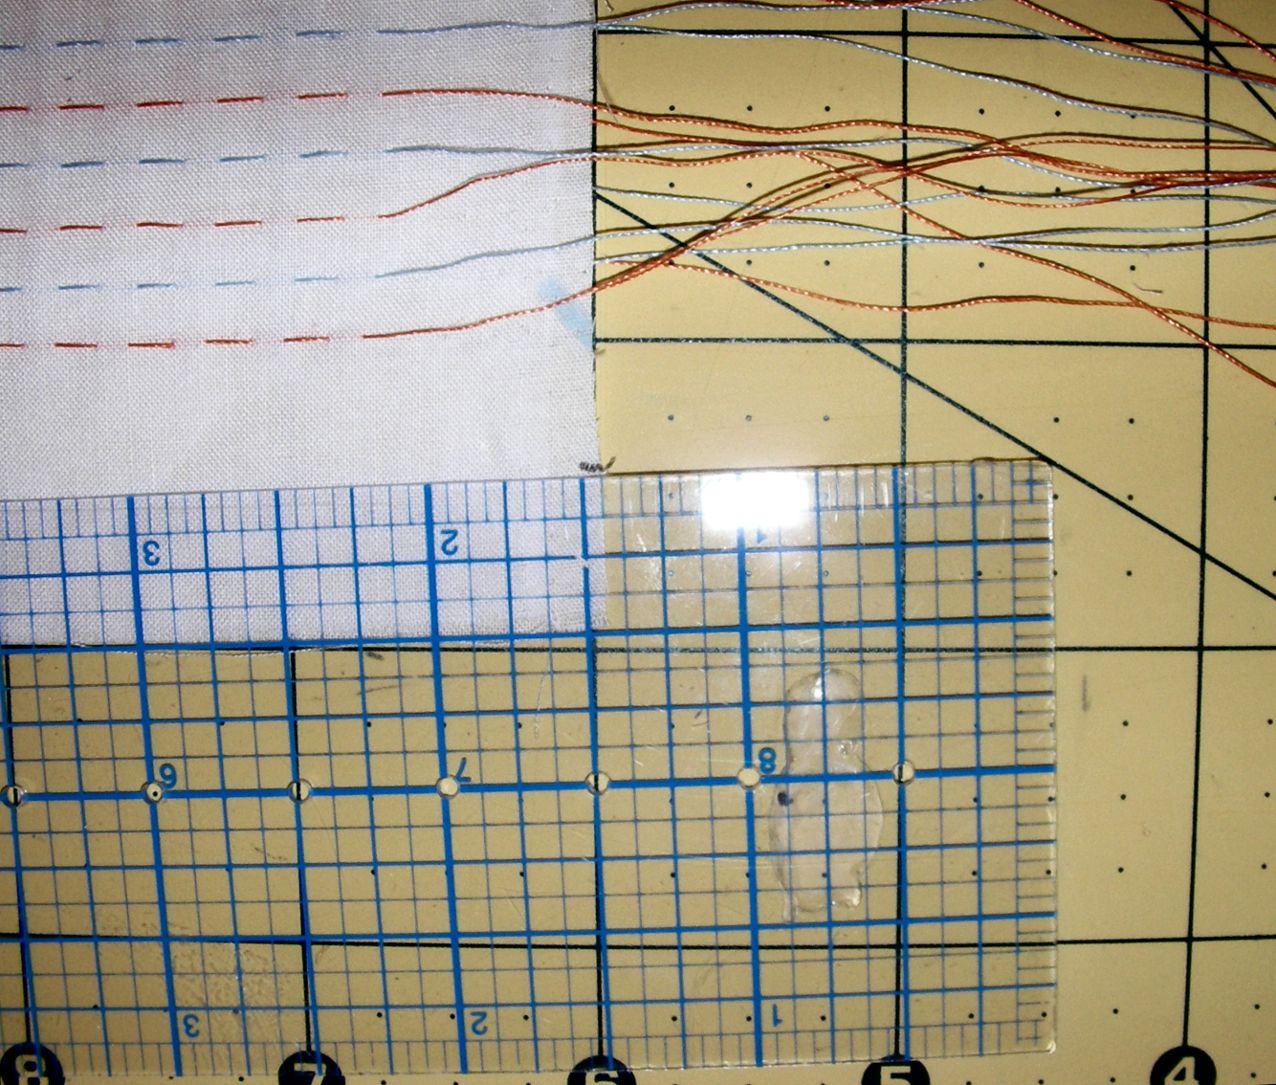
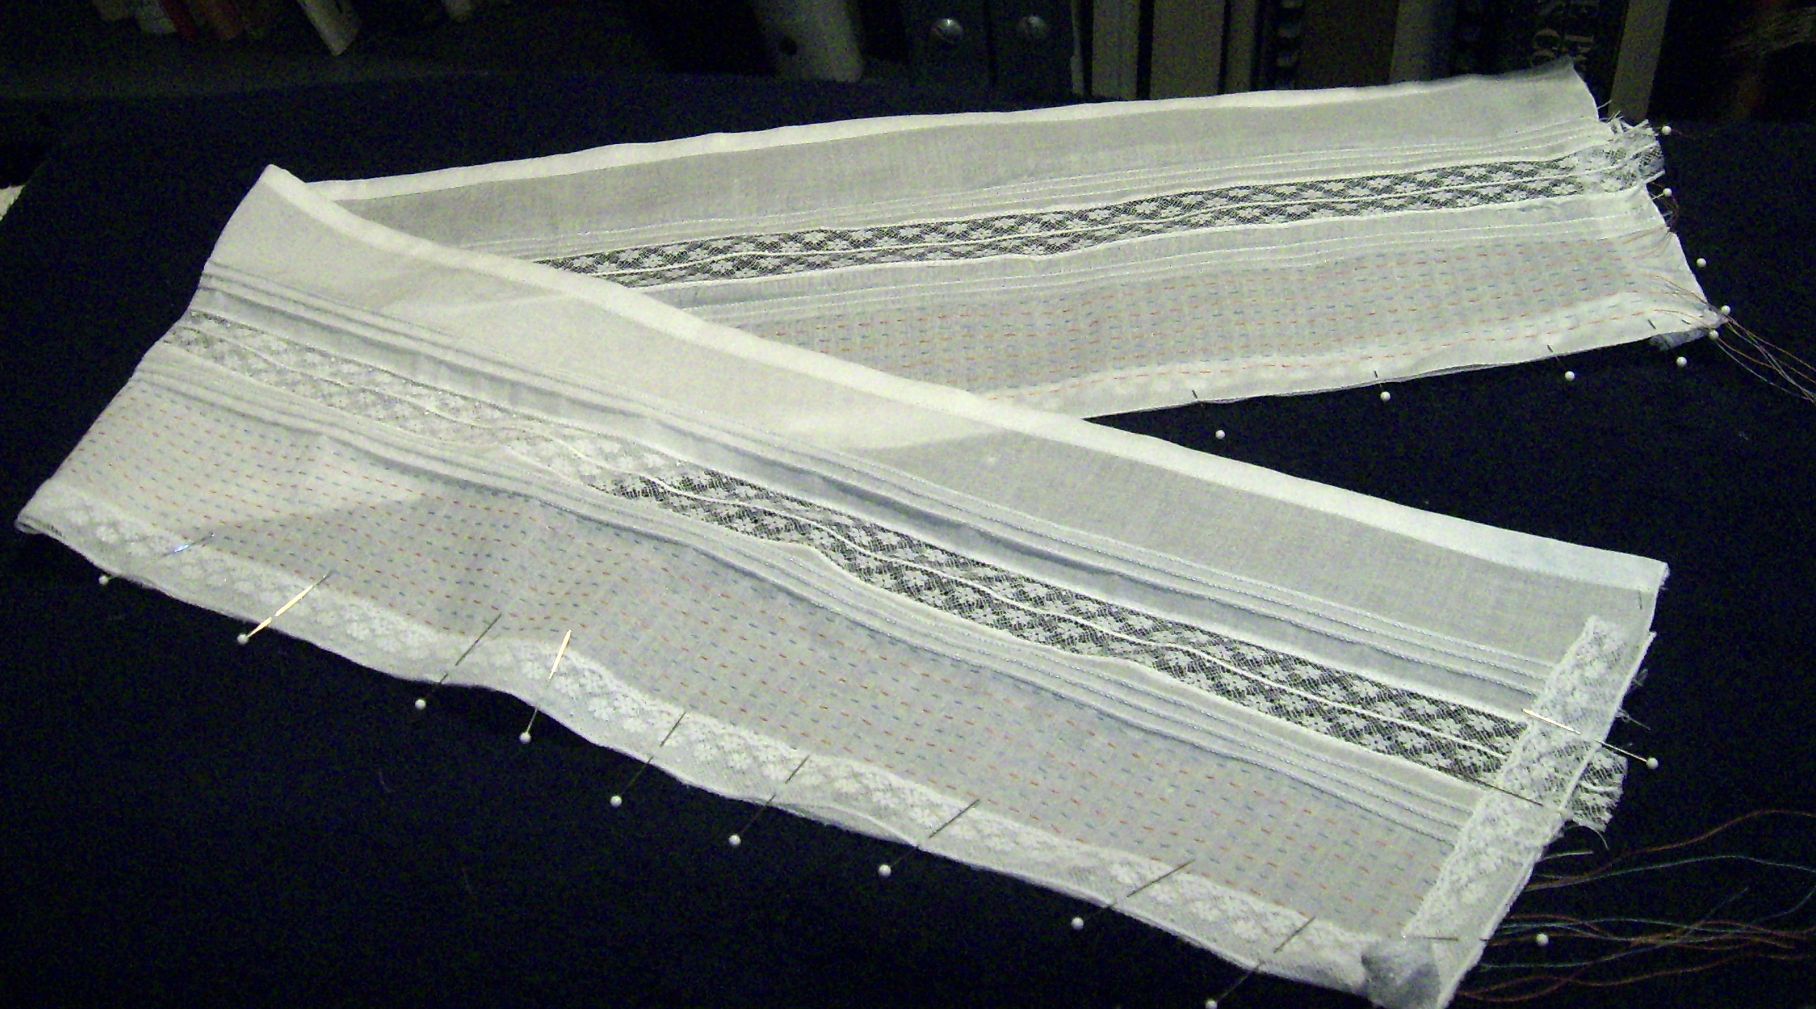
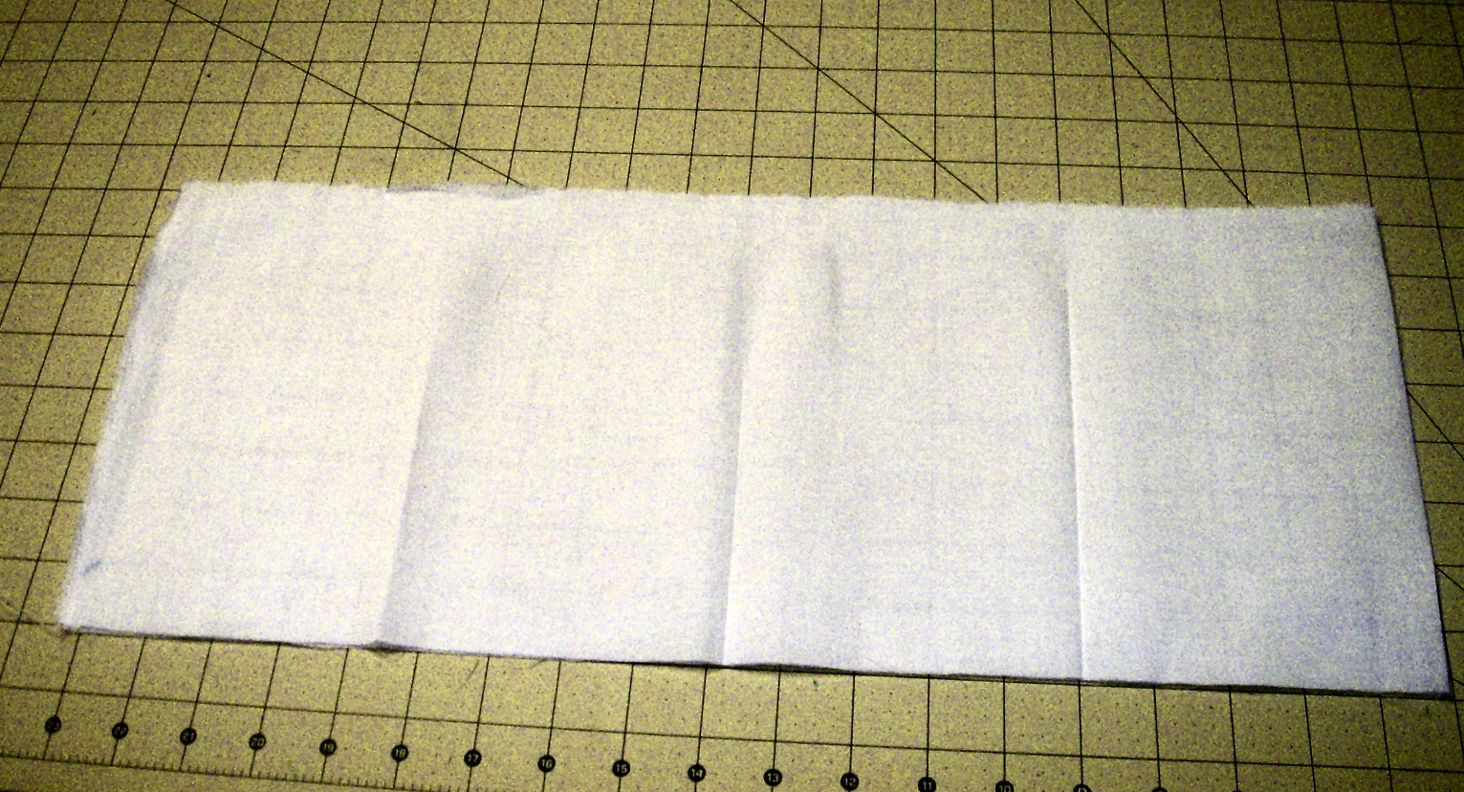 Fold and printing a pucker with a warm iron with the 'wrong sides' of the cloth together. Mark the half (one/2), fourth (1/4), and the eighths(1/eight) of the fabric. The picture shows the textile folded in one-half and creased every 1/8th of the long dimension.
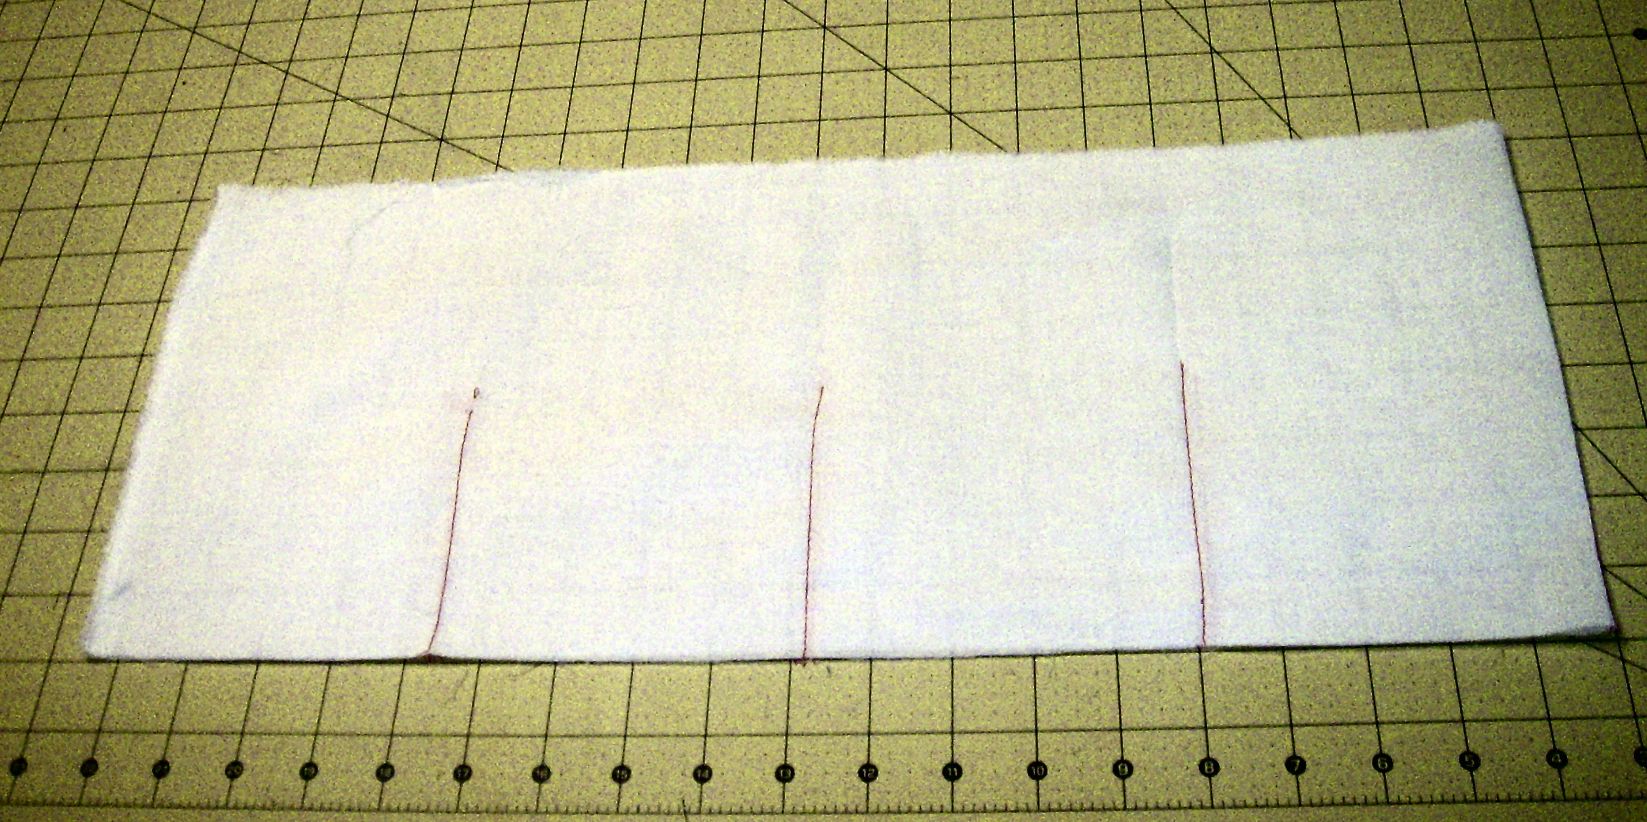 Using a contrasting thread color, and the sewing motorcar make a temporary basting seam along each of these folds. For a bonnet these seams are well-nigh 4" (ten cm) length. These basting seams are guides and are temporary.
Pleating the Fabric
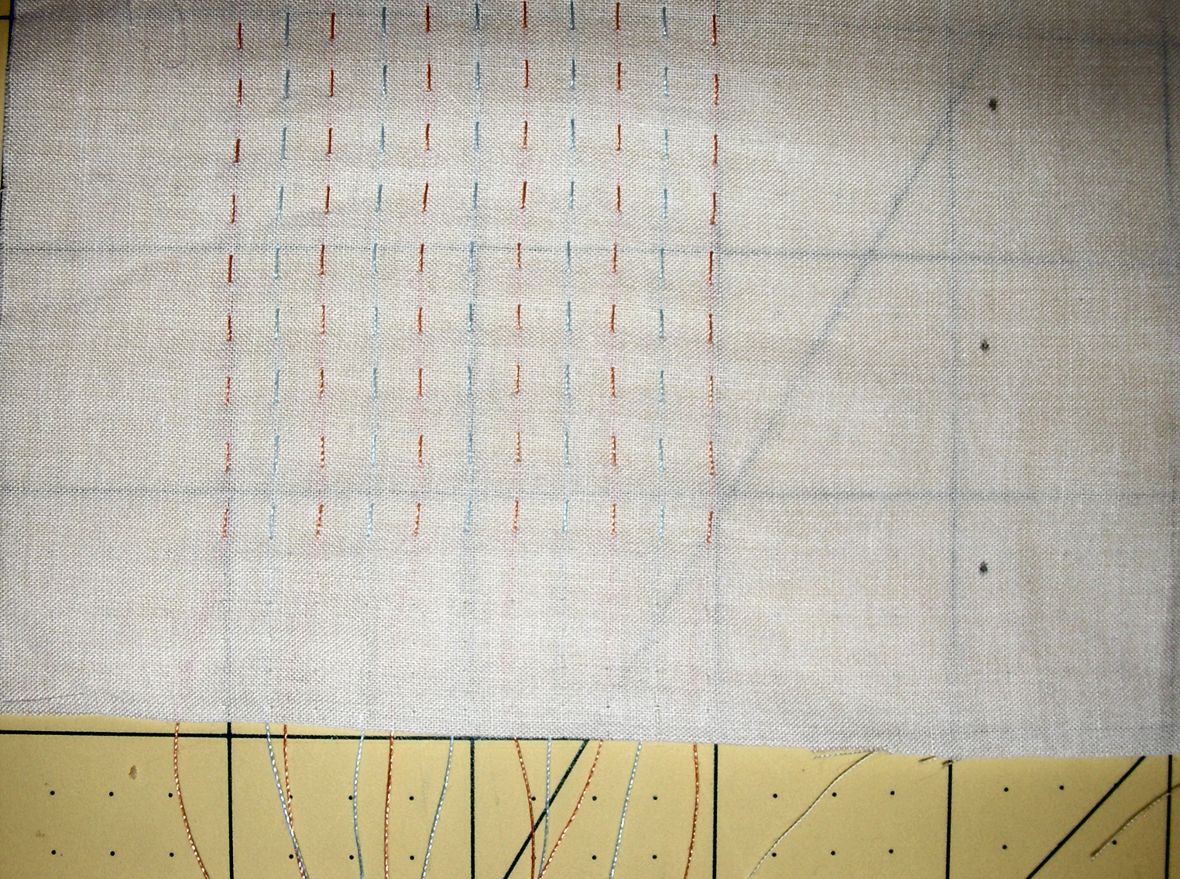
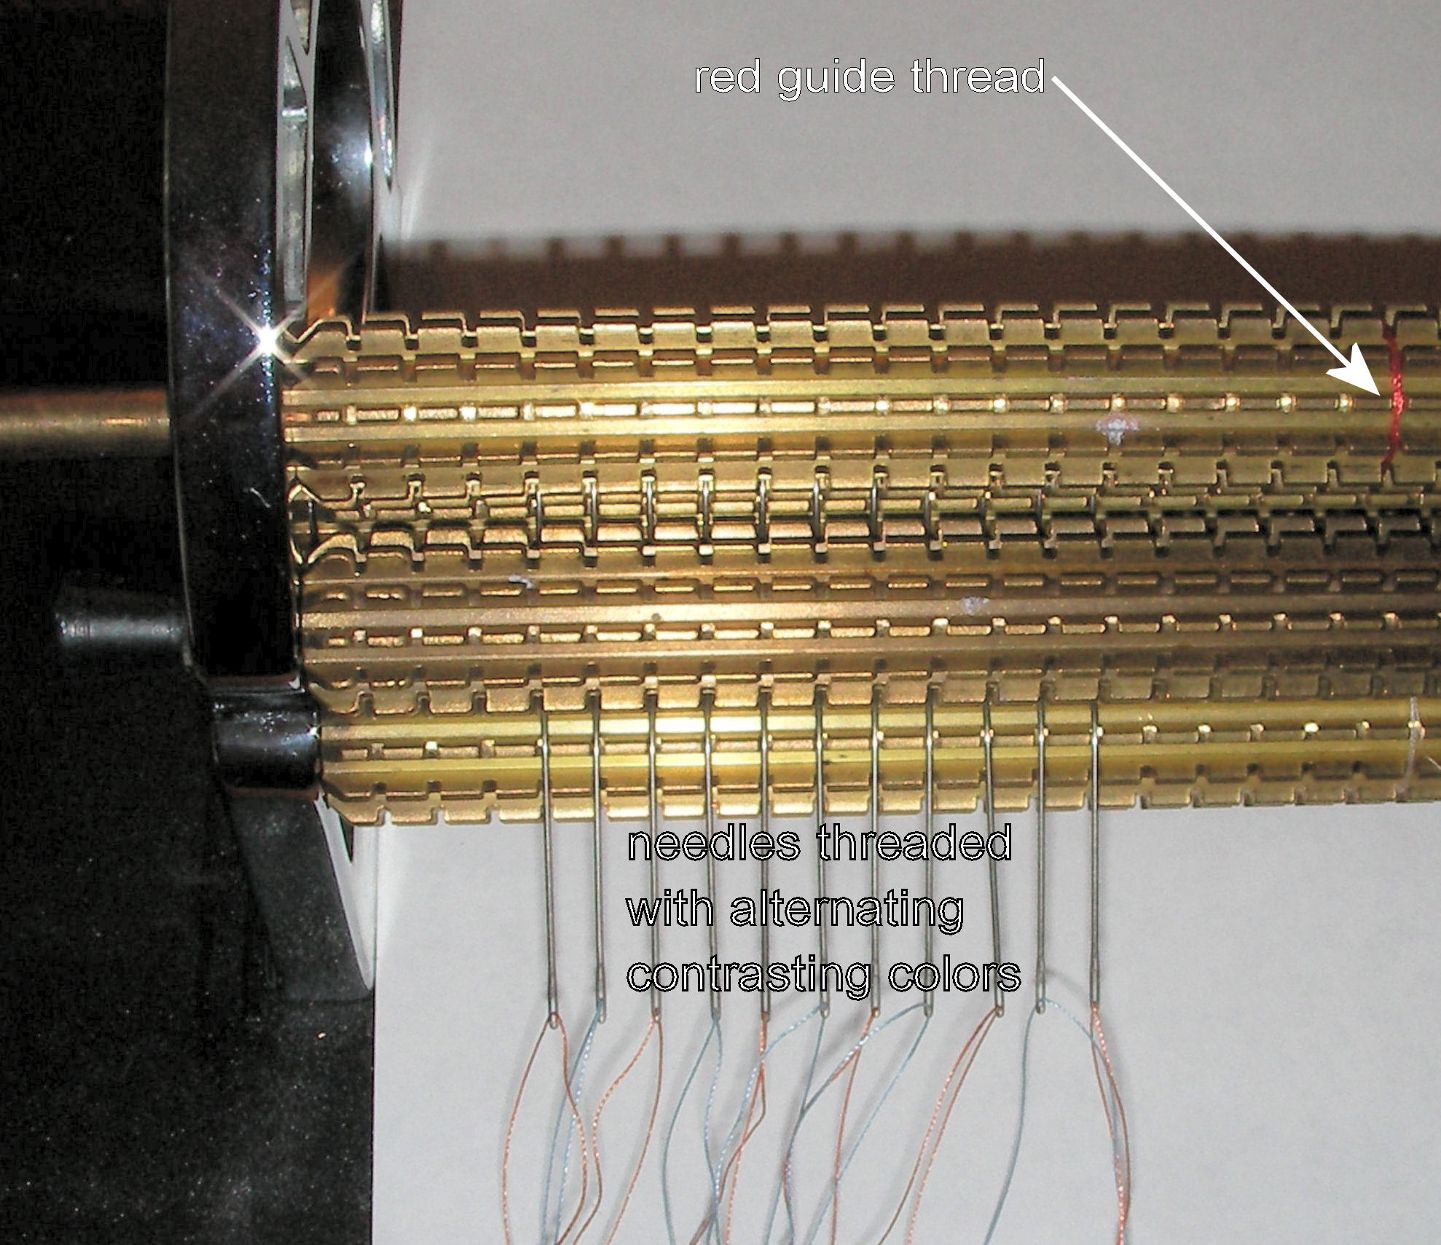 Depending on the smocking design, place 9 to xi pleating needles into ix to 11 half rows of the pleater. The pleating is to exist done at about one" from the edge. This procedure makes a bonnet skirt of 1". To guide the cloth, I tie a short slice of cherry-red thread around the pleating cylinder. Thread the needles with alternating colors of thread.
It is best to go on the 'brusk tail' on the needle thread on the same side of all needles. Brand the tail a length of iii to 4 inches.
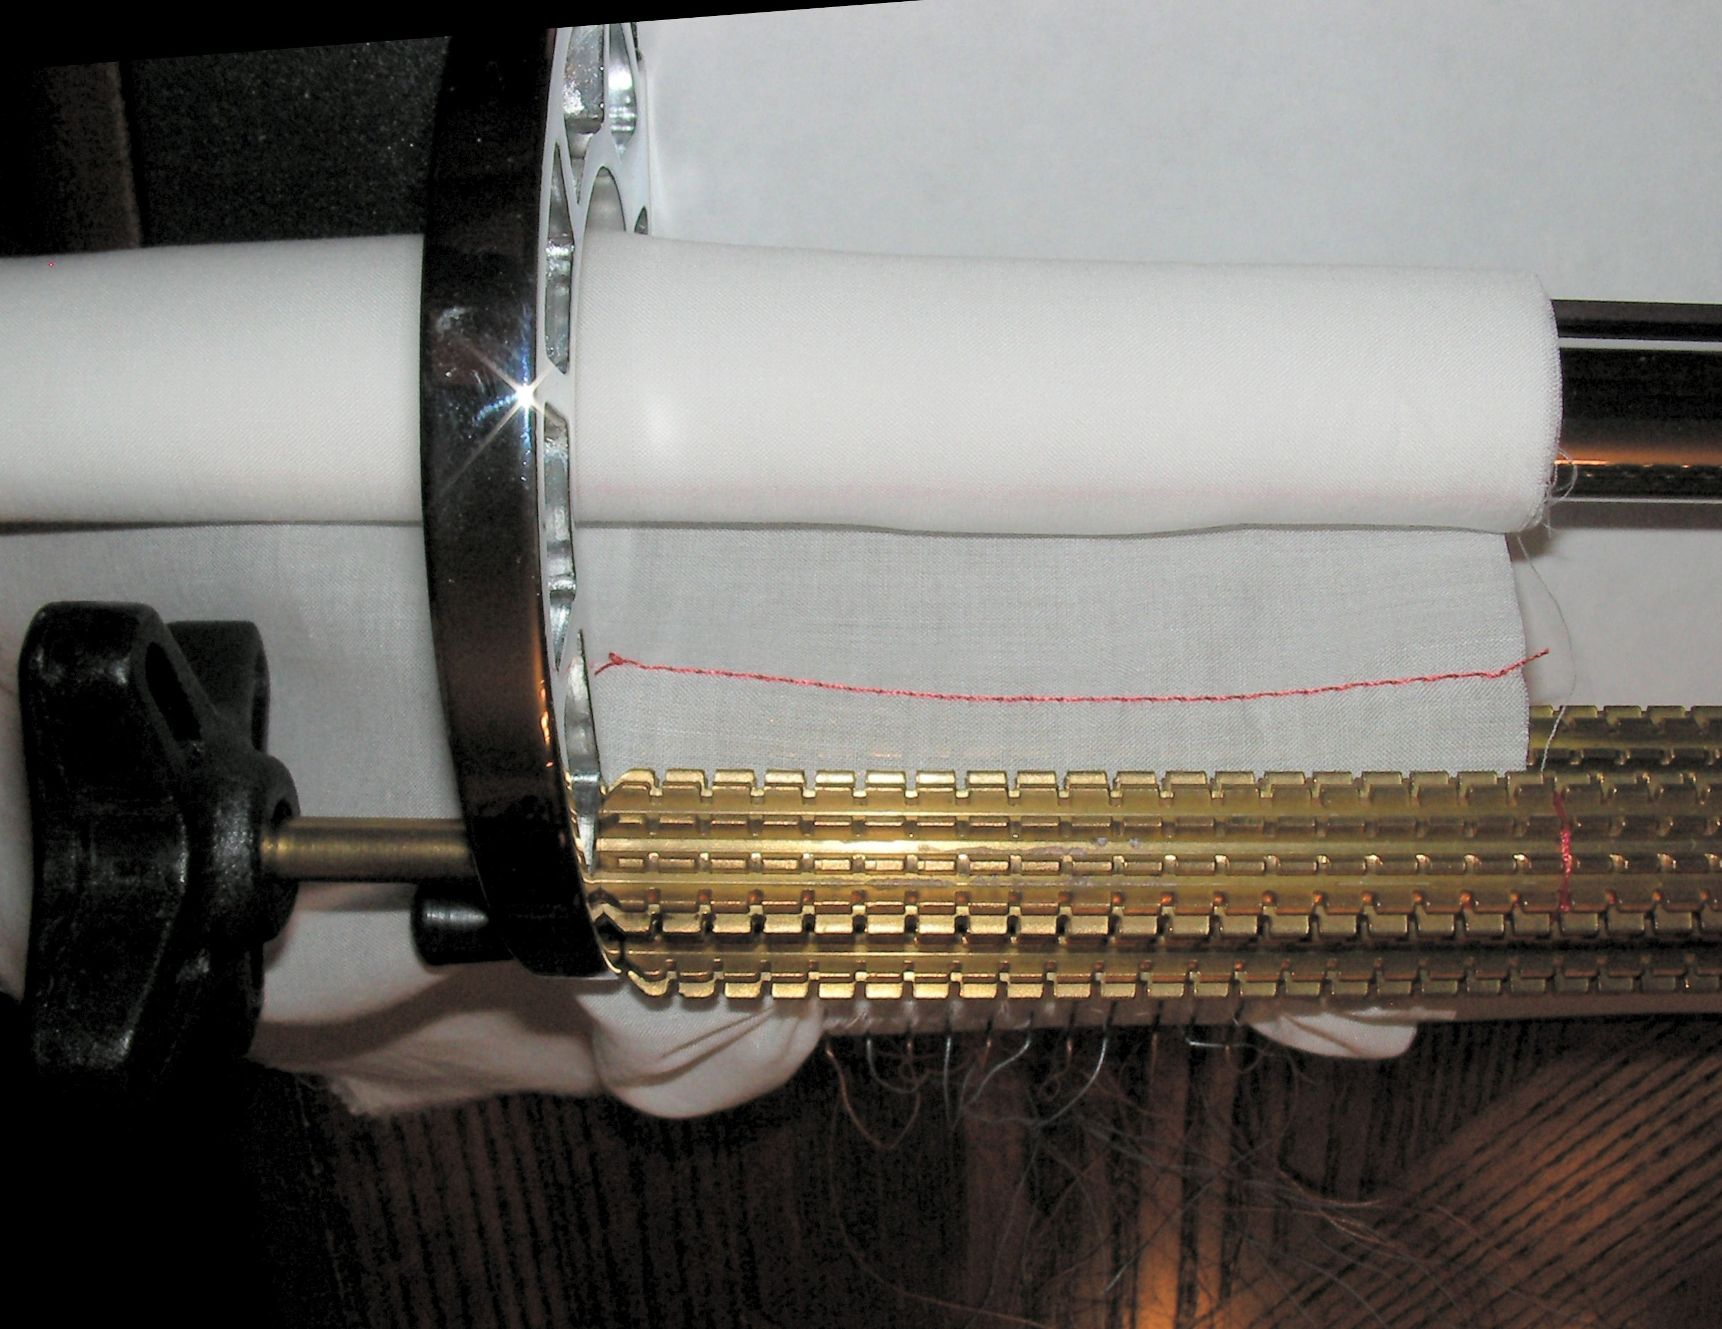
 When feeding the material into the pleater, sentry for the marked seams. These seams will aid in controling the feed.
For the best results during pleating, make sure each of these seams is direct and parallel to the rollers. This shows that the textile is feeding with constant tension.
When the pleating is done, carefully remove the basting seams. Some of the pleating threads may have caught the thread in the basting seams.
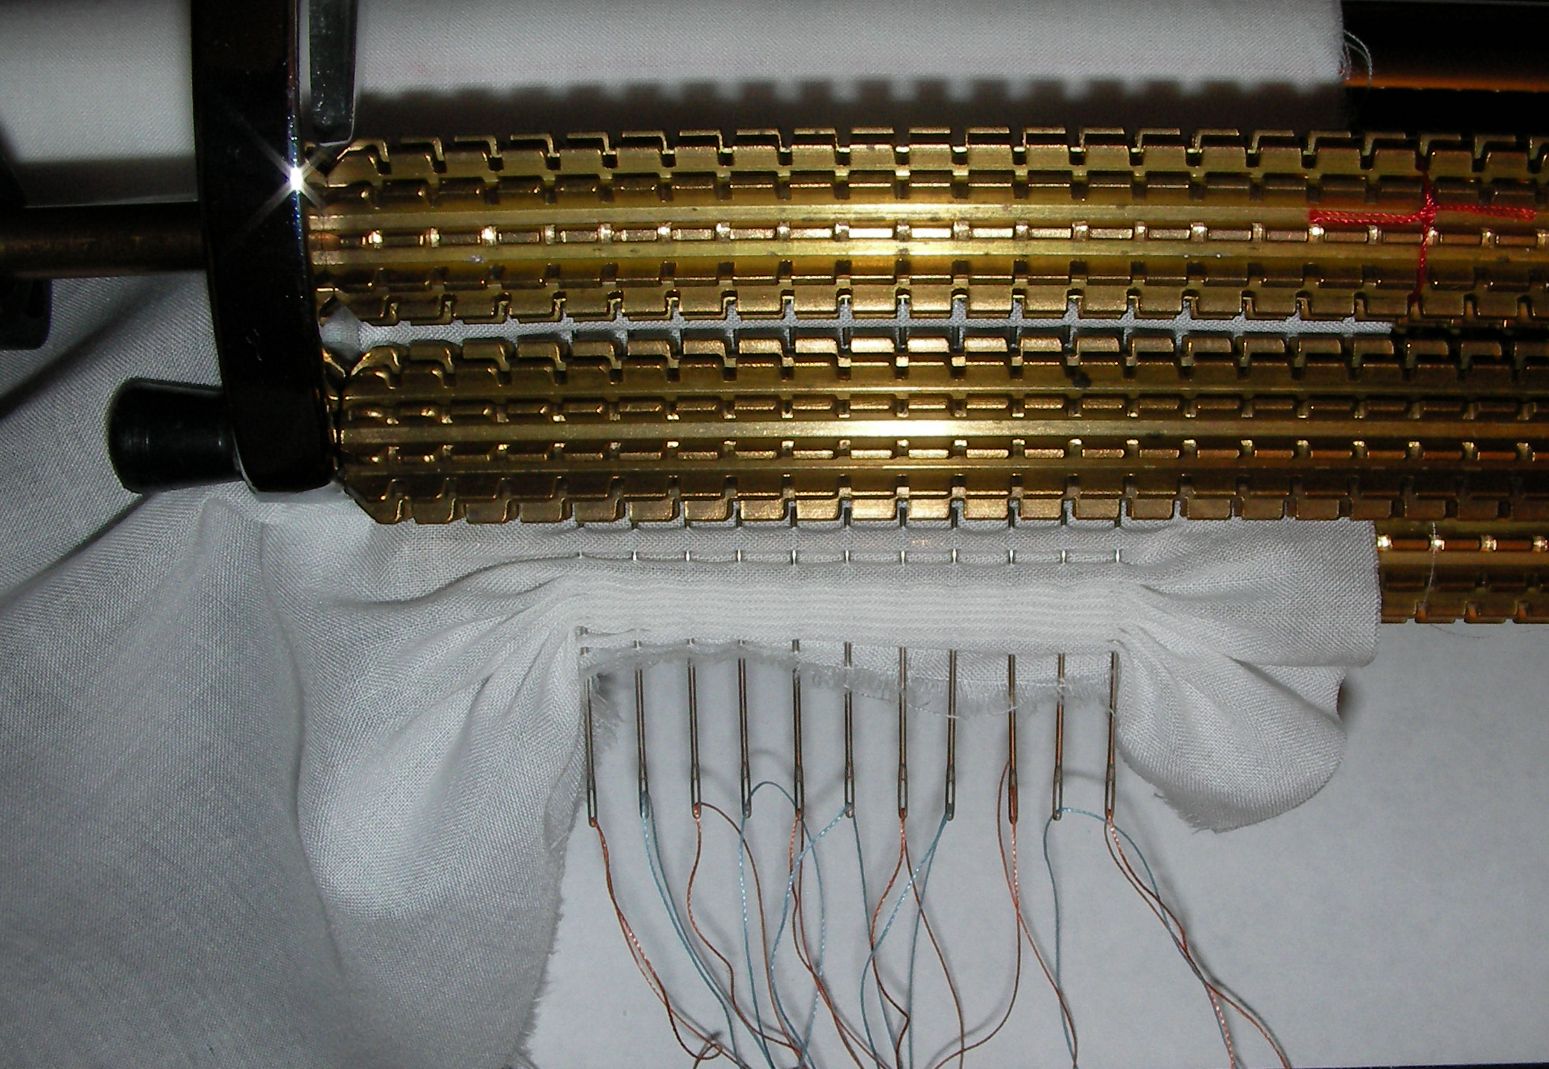

Every bit you feed material into the pleater, go slowly and release the forrard pressure on the feed knob ofttimes.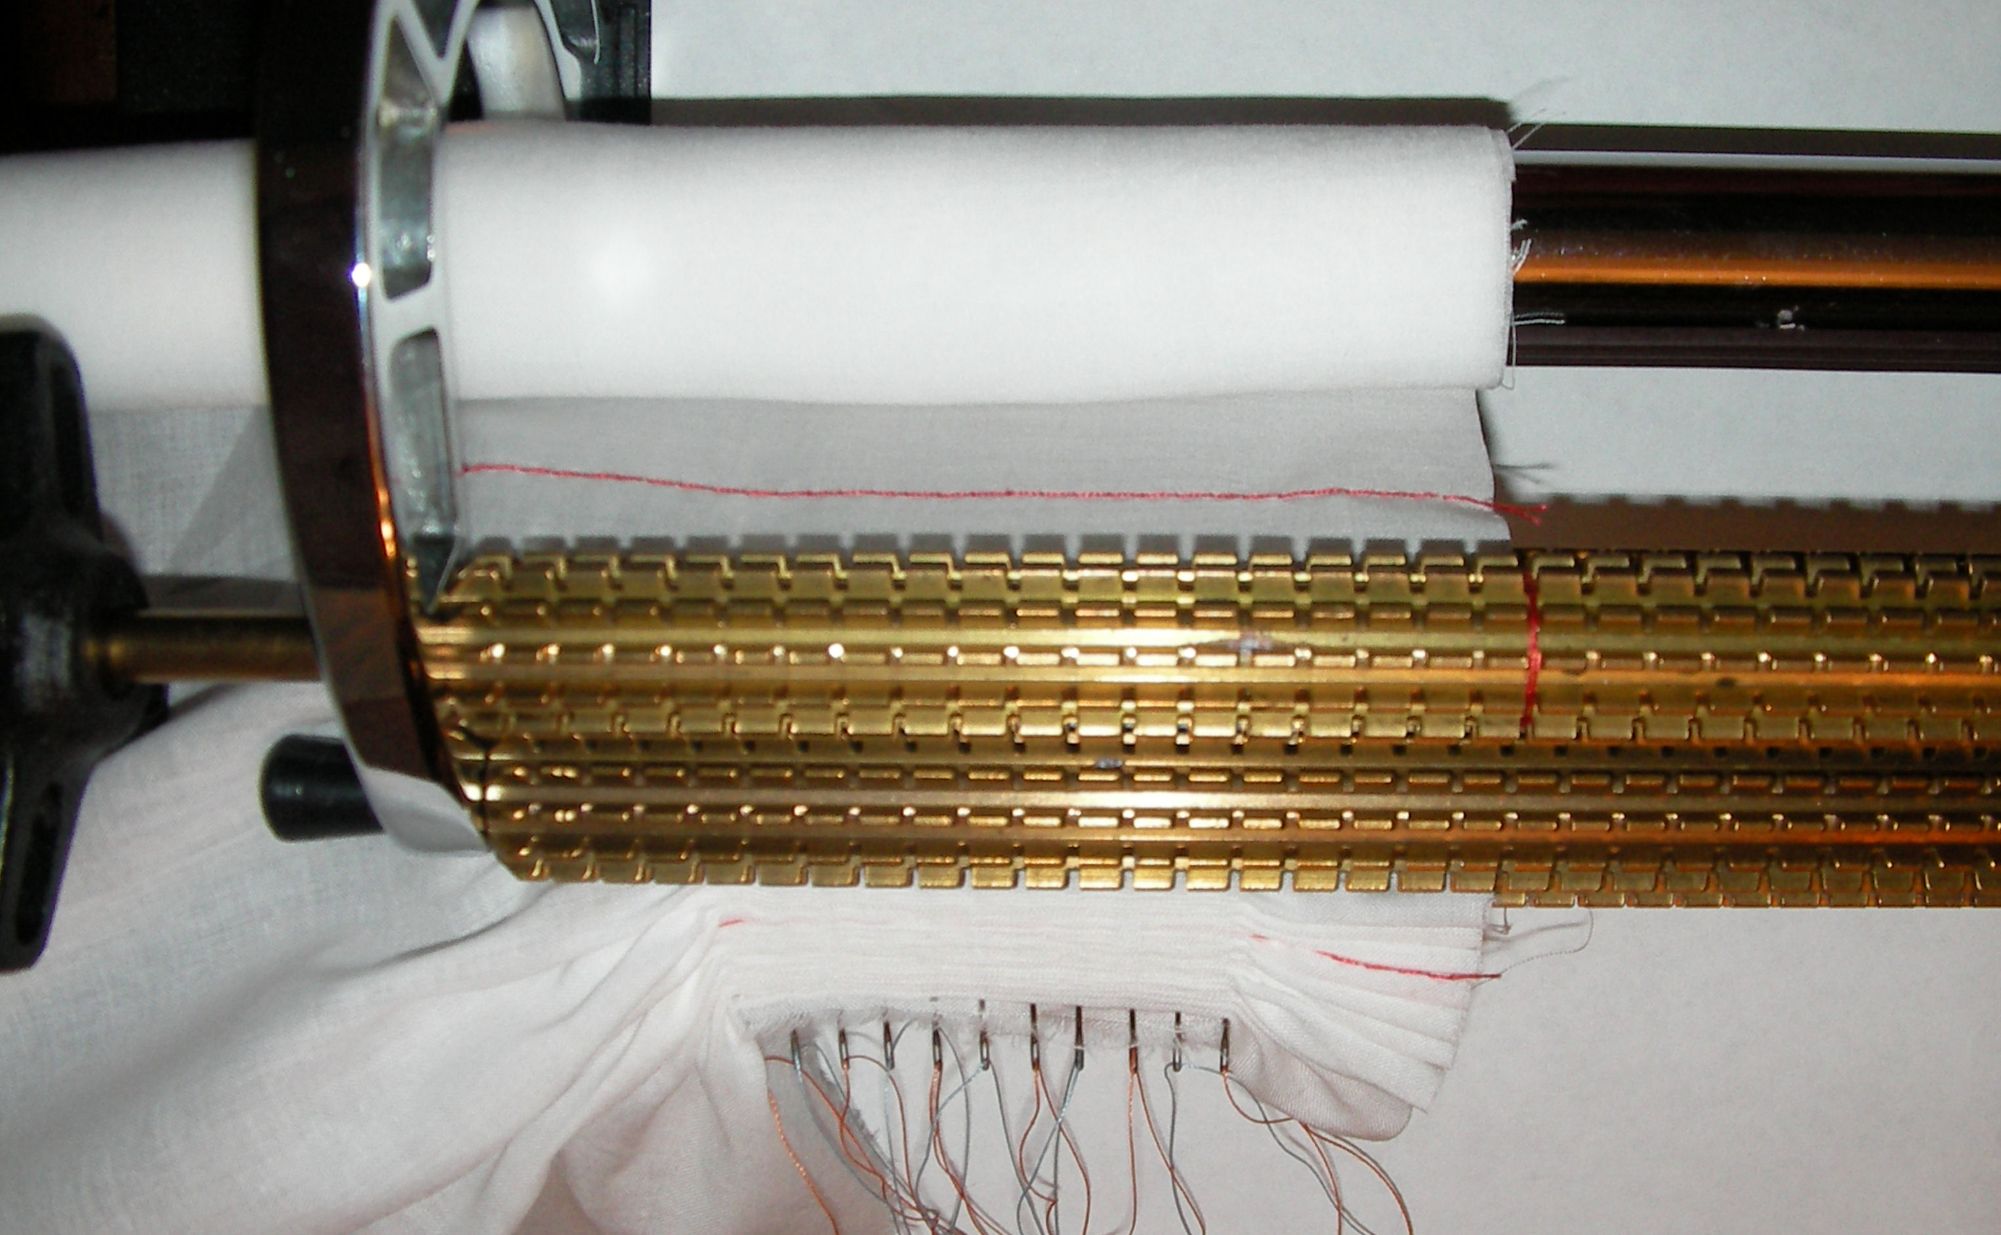
Do not let too much pleated fabric to build upon the needles as the force per unit area from the new pleats, together with the friction from the older pleats, will intermission needles. You will notice that it becomes more hard to turn the drive knob as the fabric build up. Pay close attending to changes in the resistance of this knob.
Accept care when removing the fabric from the pleater to avert pulling any of the pleating threads out of the pleated fabric. It may exist a good idea to tie the ends of the threads together at each end so that none of the pleating threads get pulled loose at either terminate.
Preparing for the Placement of the Insertion Lace
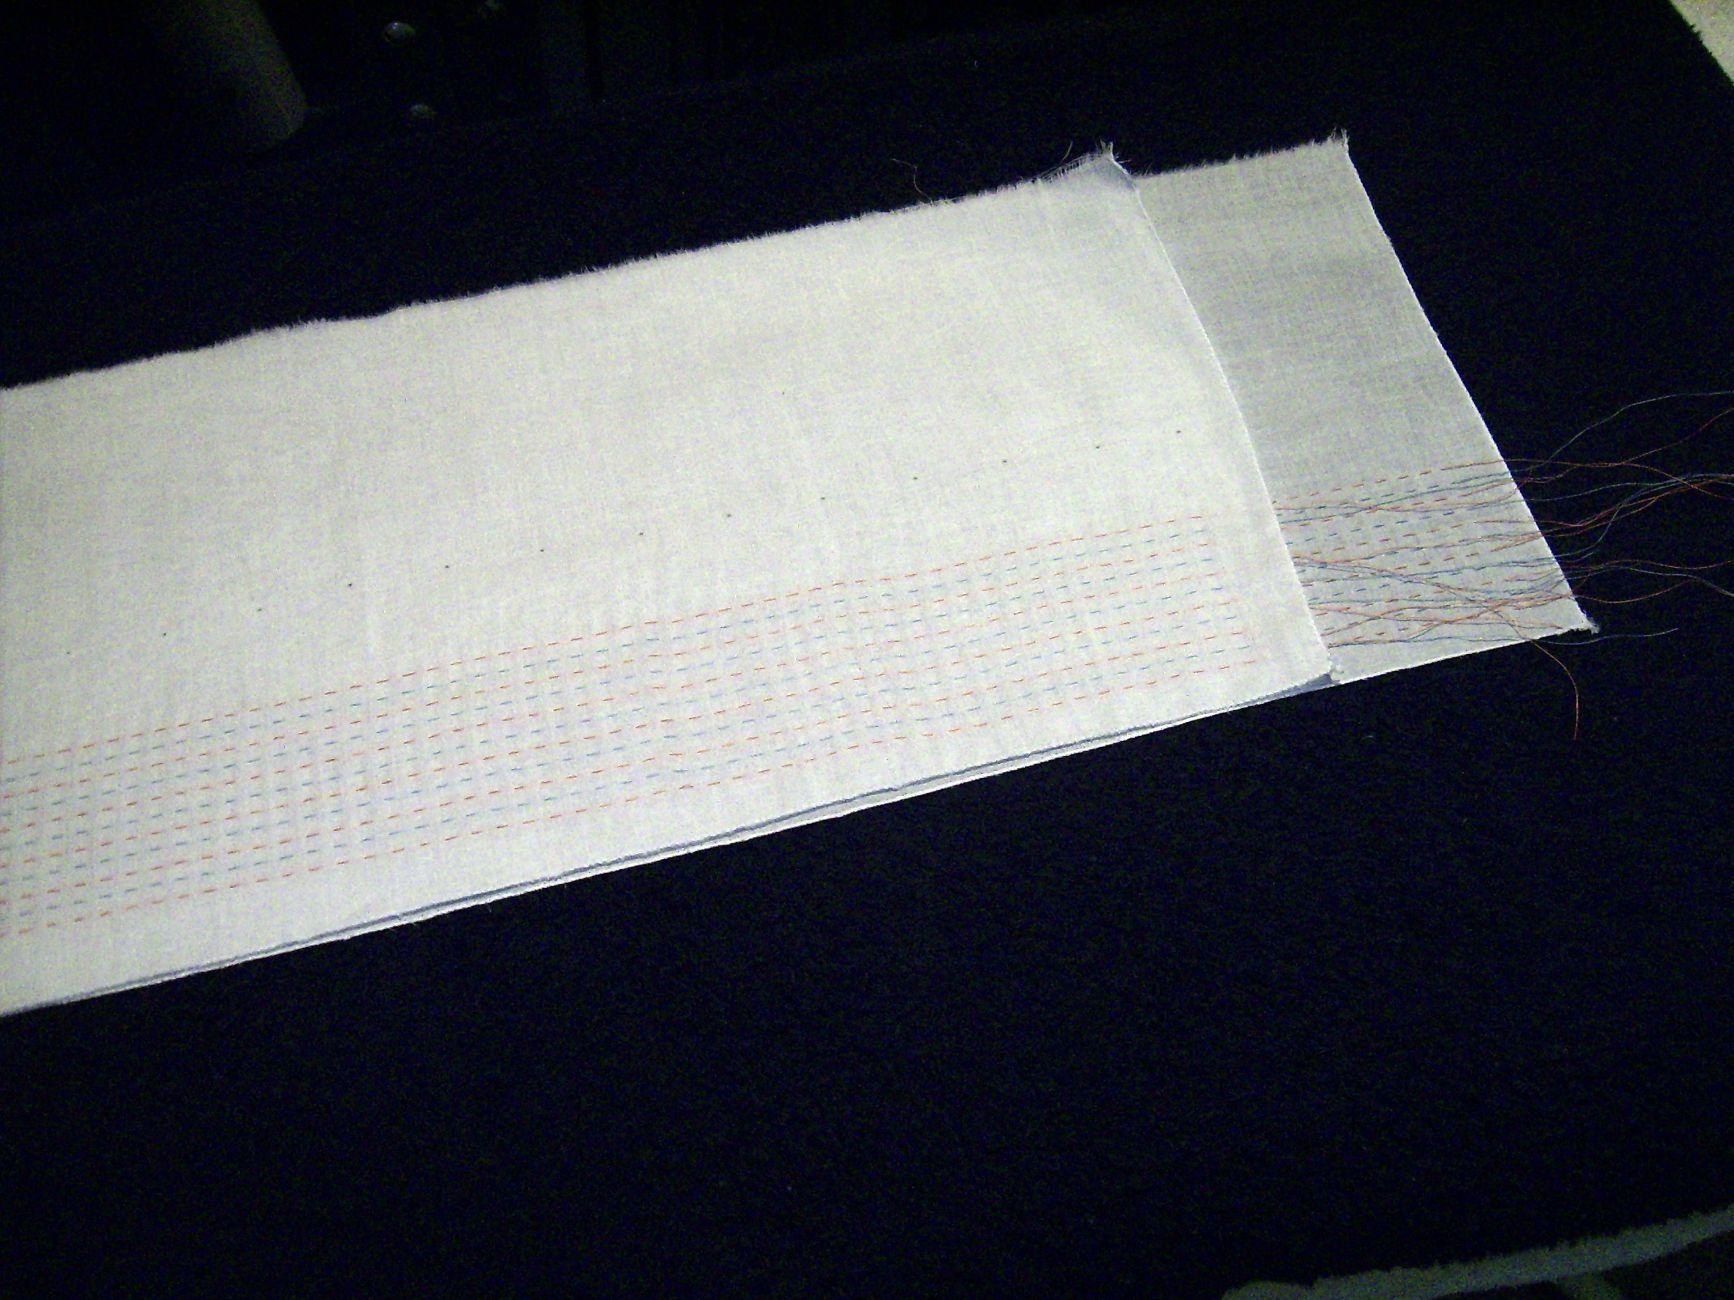
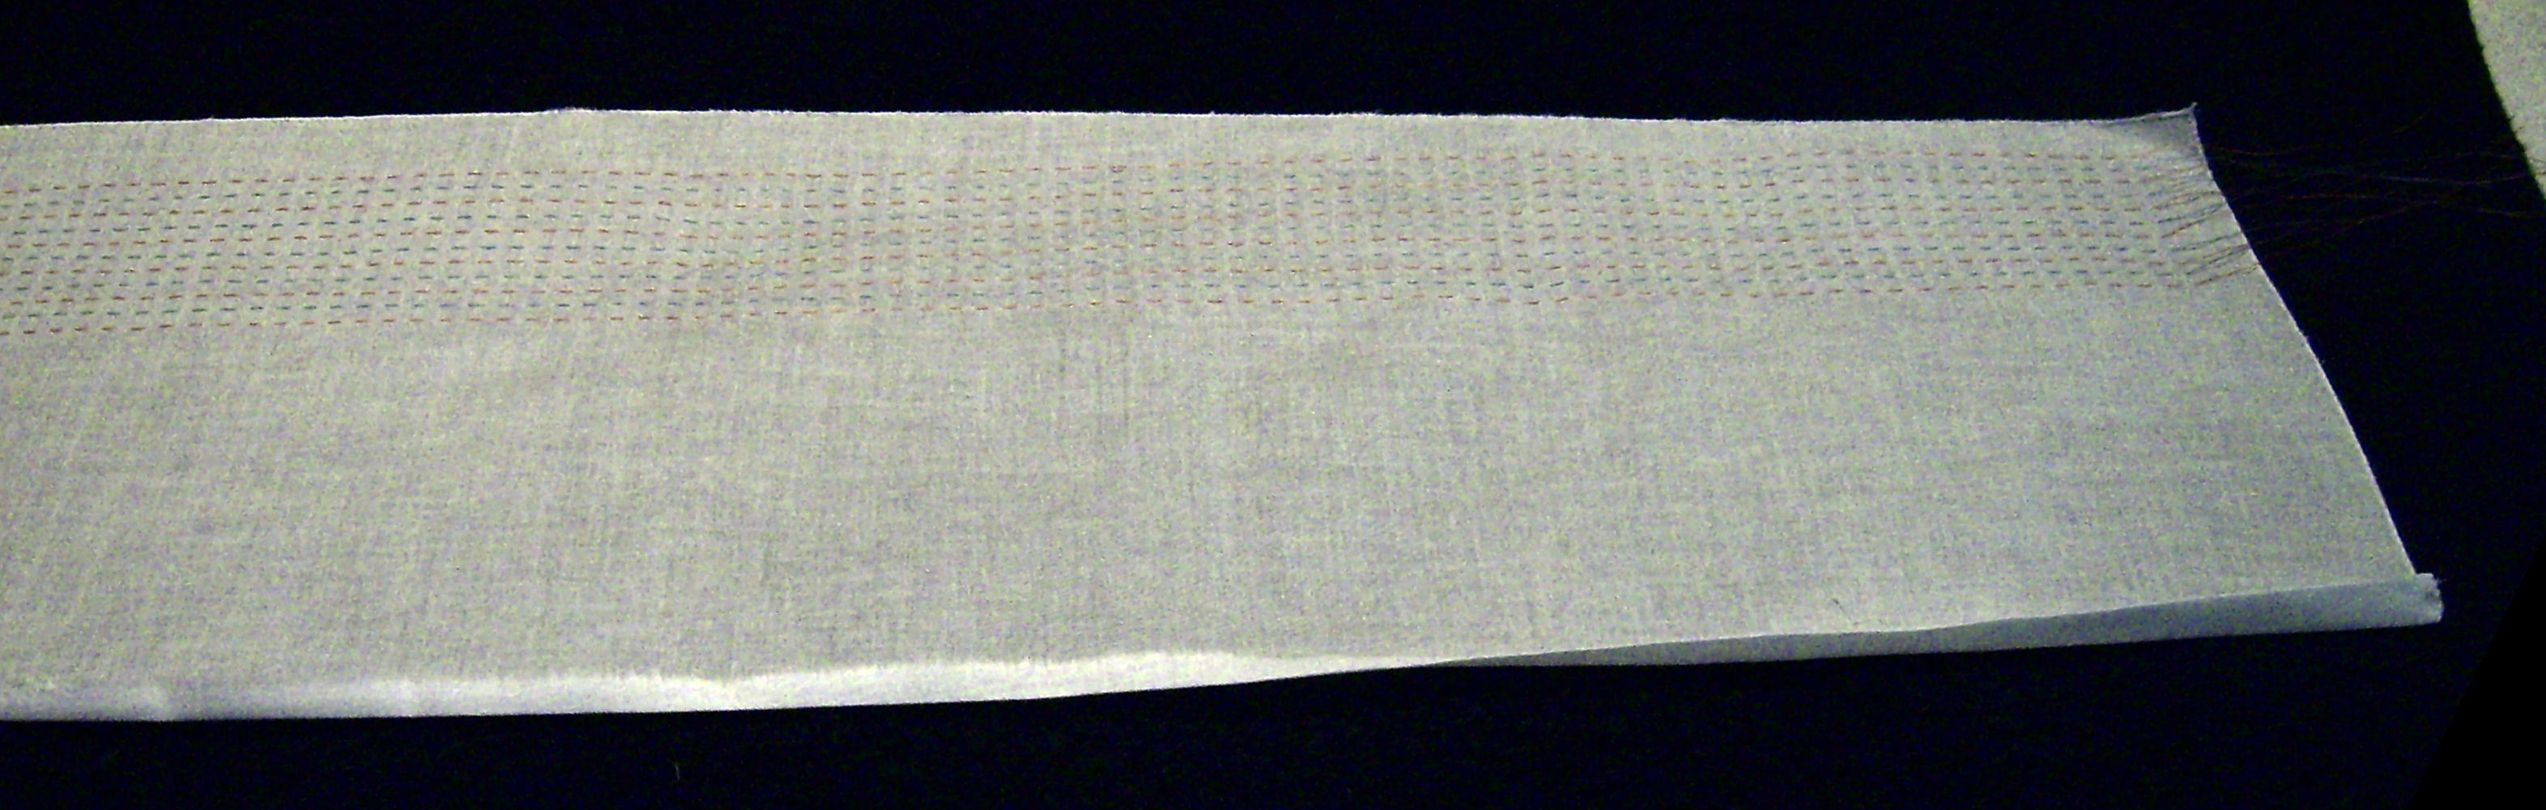
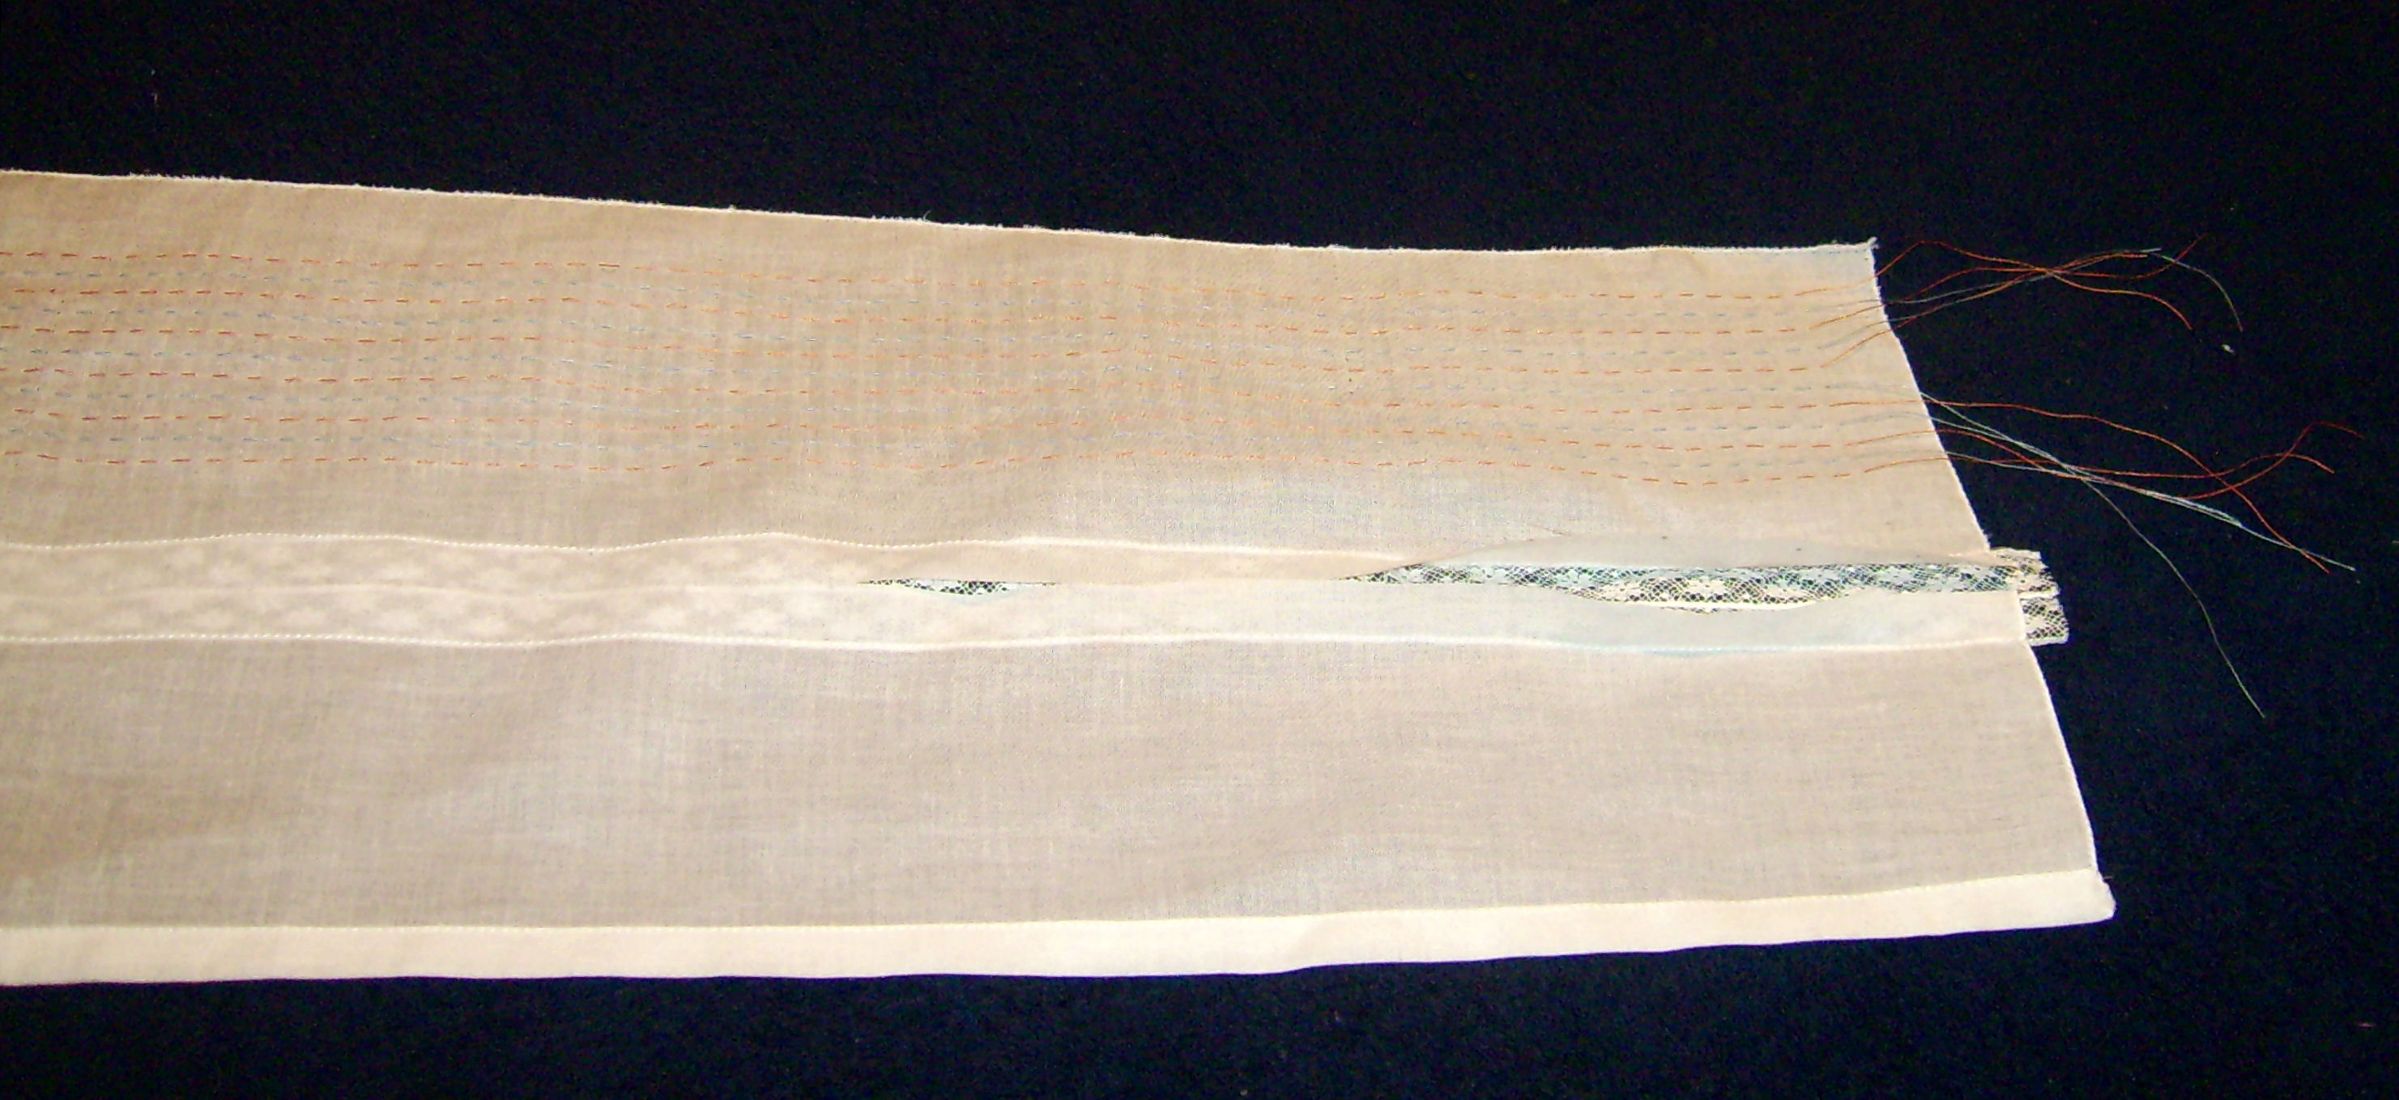
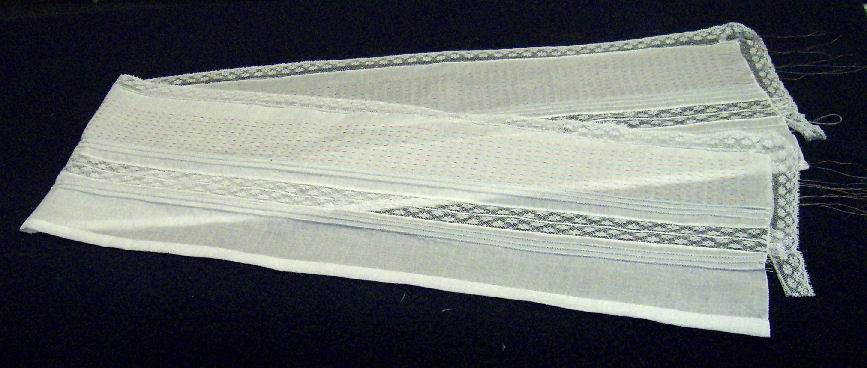
Afterward pleating, stretch out the cloth along the pleating threads to flatten the cloth. Press.

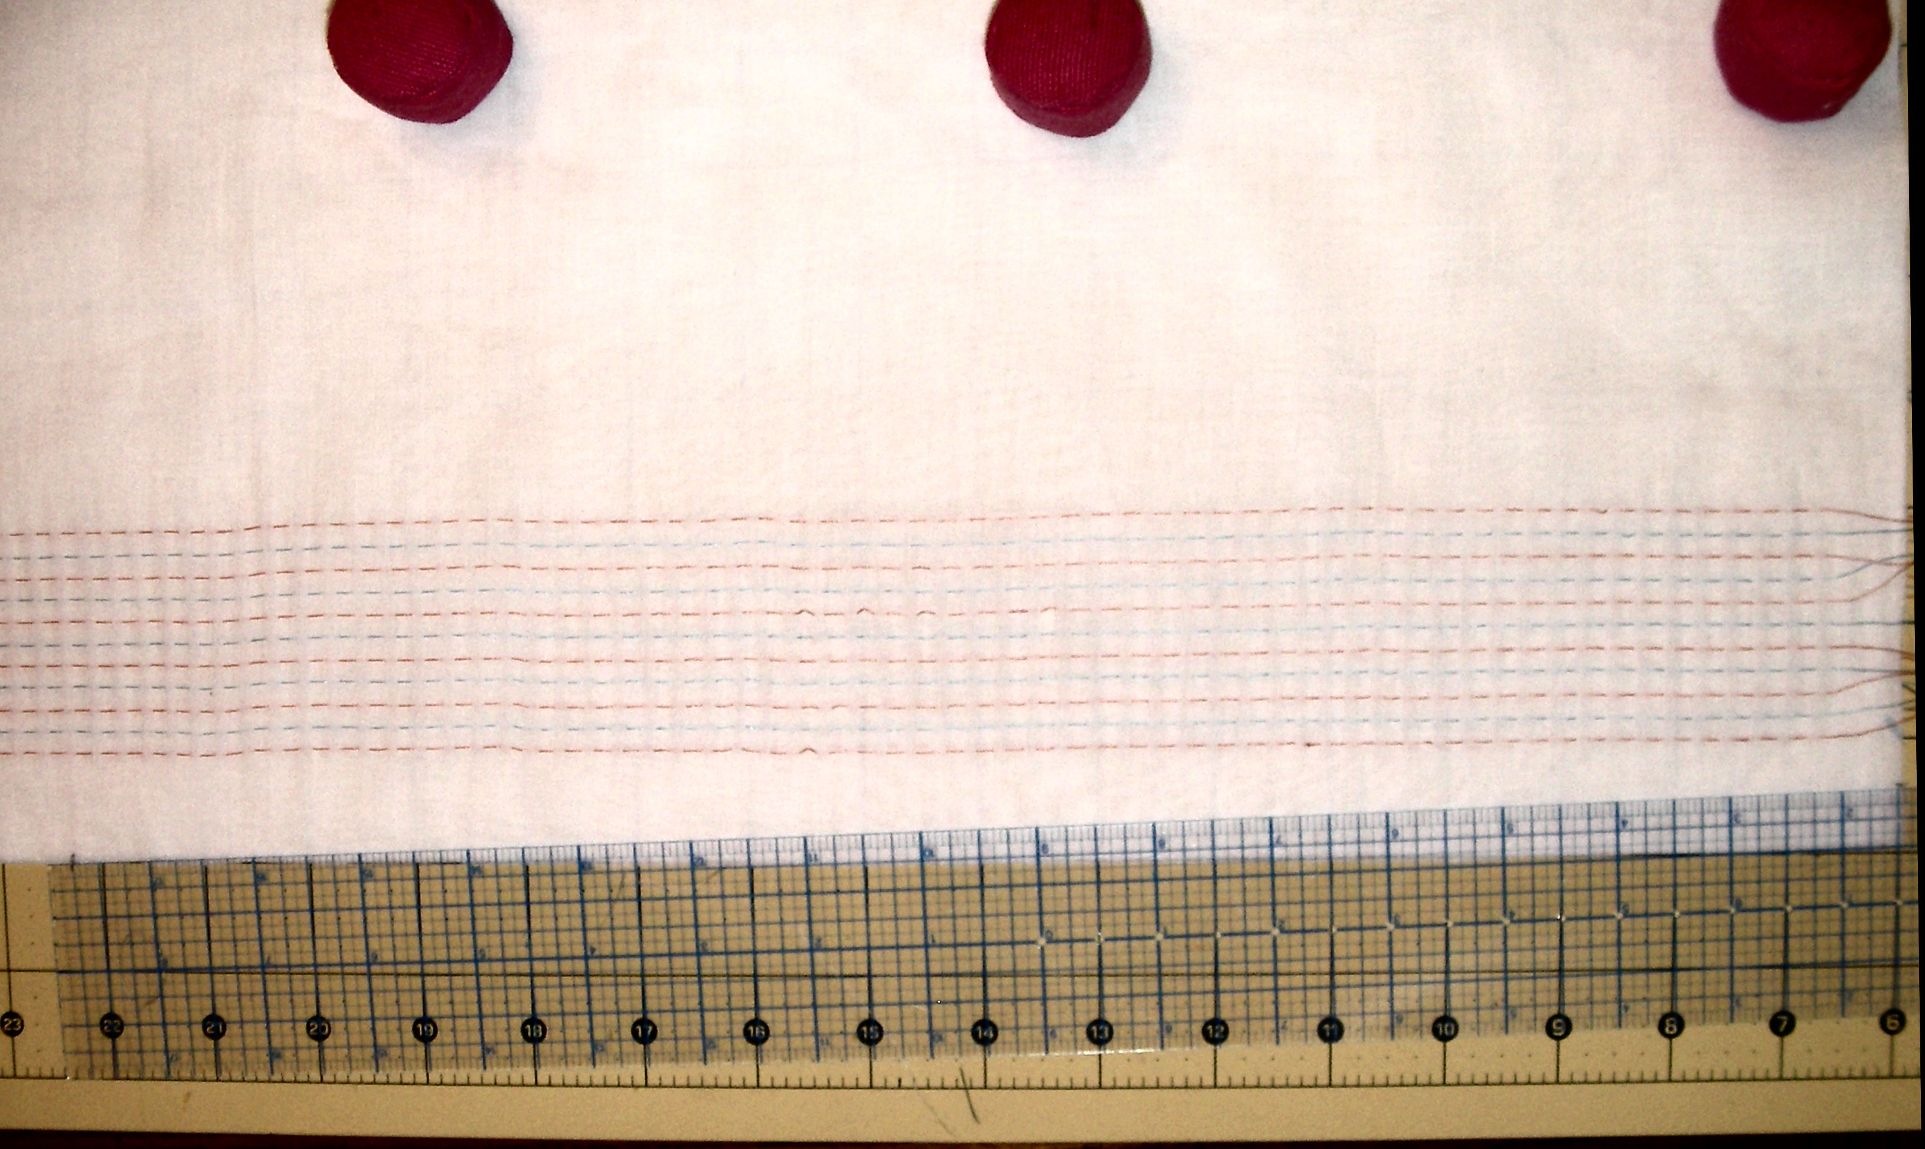
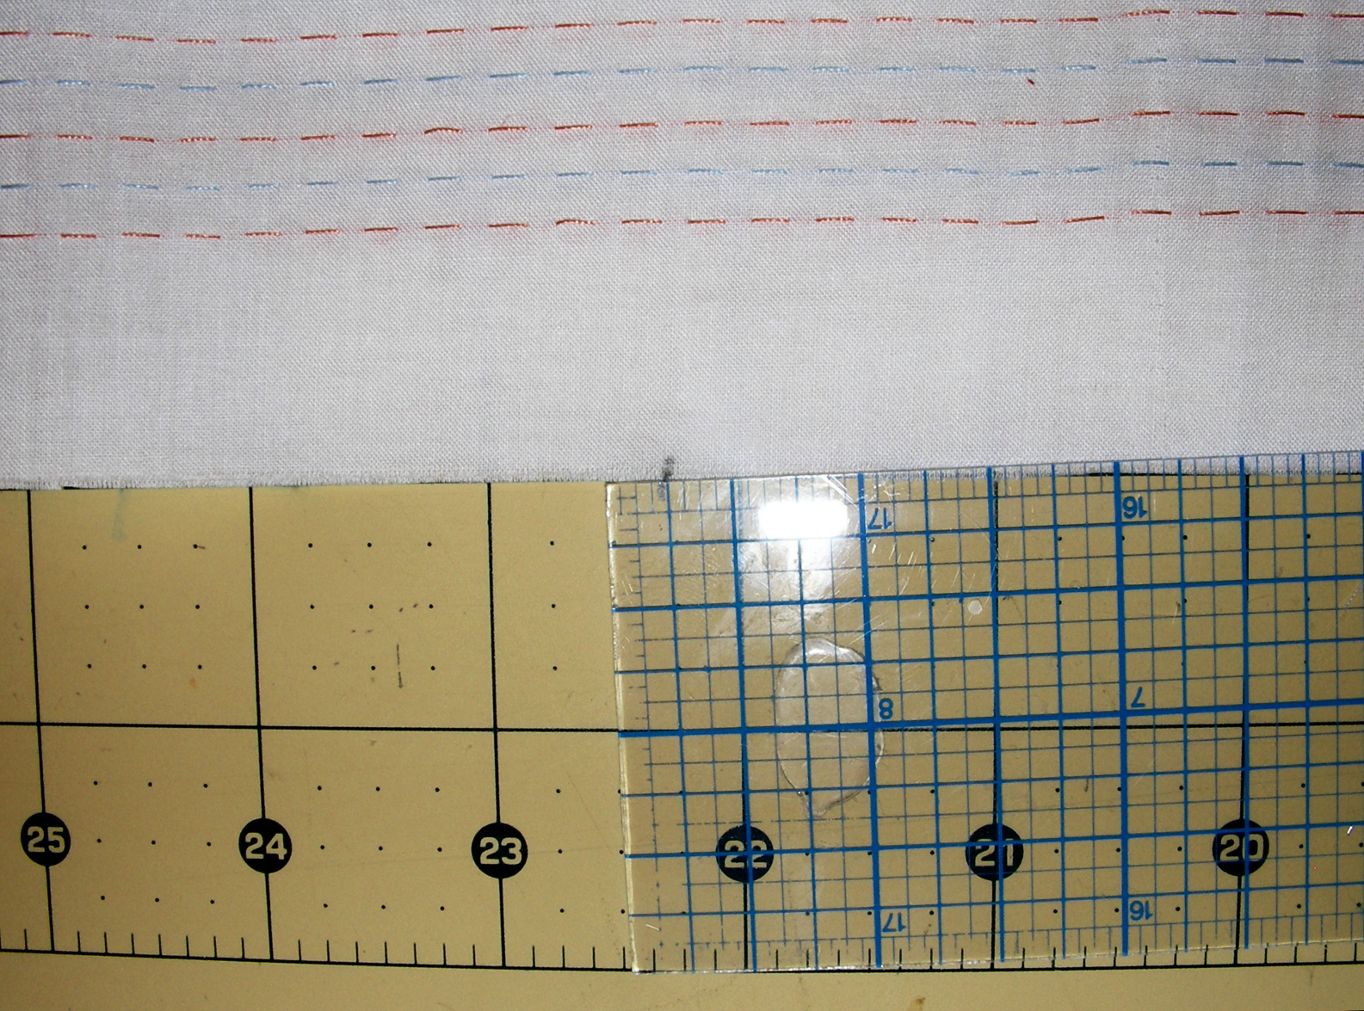
 A band of insertion lace is to be placed across the bonnet, from neckline to neckline. On the right side of the fabric, marking the position of the insertion lace, using a h2o soluble marker to draw a series of points about 1" apart along a straight line parallel to 'forepart' raw edge of the cloth. This line of points is to be fatigued at well-nigh 4 ¾" (12 cm) from the front end edge and parallel to it. The insertion lace will be placed AFTER the taper is cut.
Note: To have this straight line of points, it is of import to mark this line earlier cutting the taper. This straight line of points may be also measured from the opposite edge of the rectangle, that is, from the crown edge. Withal, the distance betwixt the reverse edge and the identify of the insertion line will vary with the sizes.
Cutting the Taper
With right sides together and matching raw edges, fold the rectangle in half. On the brim edge, and using a water soluble marker, marker a indicate measured three" (viii cm) from the center of the piece toward the selvage. At the selvage and from the bonnet neckline edge, mark a betoken measured ½" (xiii mm) towards the crown edge. Use a ruler and a rotary cutter to cut the material by joining these two points.
Whipping and Rolling
 On the wrong side of the rectangle, unpleat approximately 1" by unthreading the pleating threads from each of the neckline sides of the fabric.
Cut out the selvage without cut the pleating threads. Using the sewing auto whip and roll the 2 short edges and the brim edge of the fabric. To practice this apply zigzag sew together such that the sewing car needle zigs in the cloth and zags only exterior, rolling the cloth.
Making the Crown Instance
 With the wrong side of the fabric up fold under ¼" (vi mm) and printing. Repeat this procedure and make a second fold this time fold under 3/8" (1 cm) and printing. Using the sewing machine and a brusque stitch, stitch close to the edge of the fold and along the crown edge to end the crown case.
Attaching the Insertion Lace
 Cut a piece of one" (2.5 cm) wide insertion lace of approximately 47' (119 cm). Middle the insertion lace over the straight line of points already drawn and pin the insertion lace in place.
 Straight stitch along each side of the header lace. On the wrong side of the fabric carefully cutting forth the straight line. Exercise not cut the fabric or the lace.
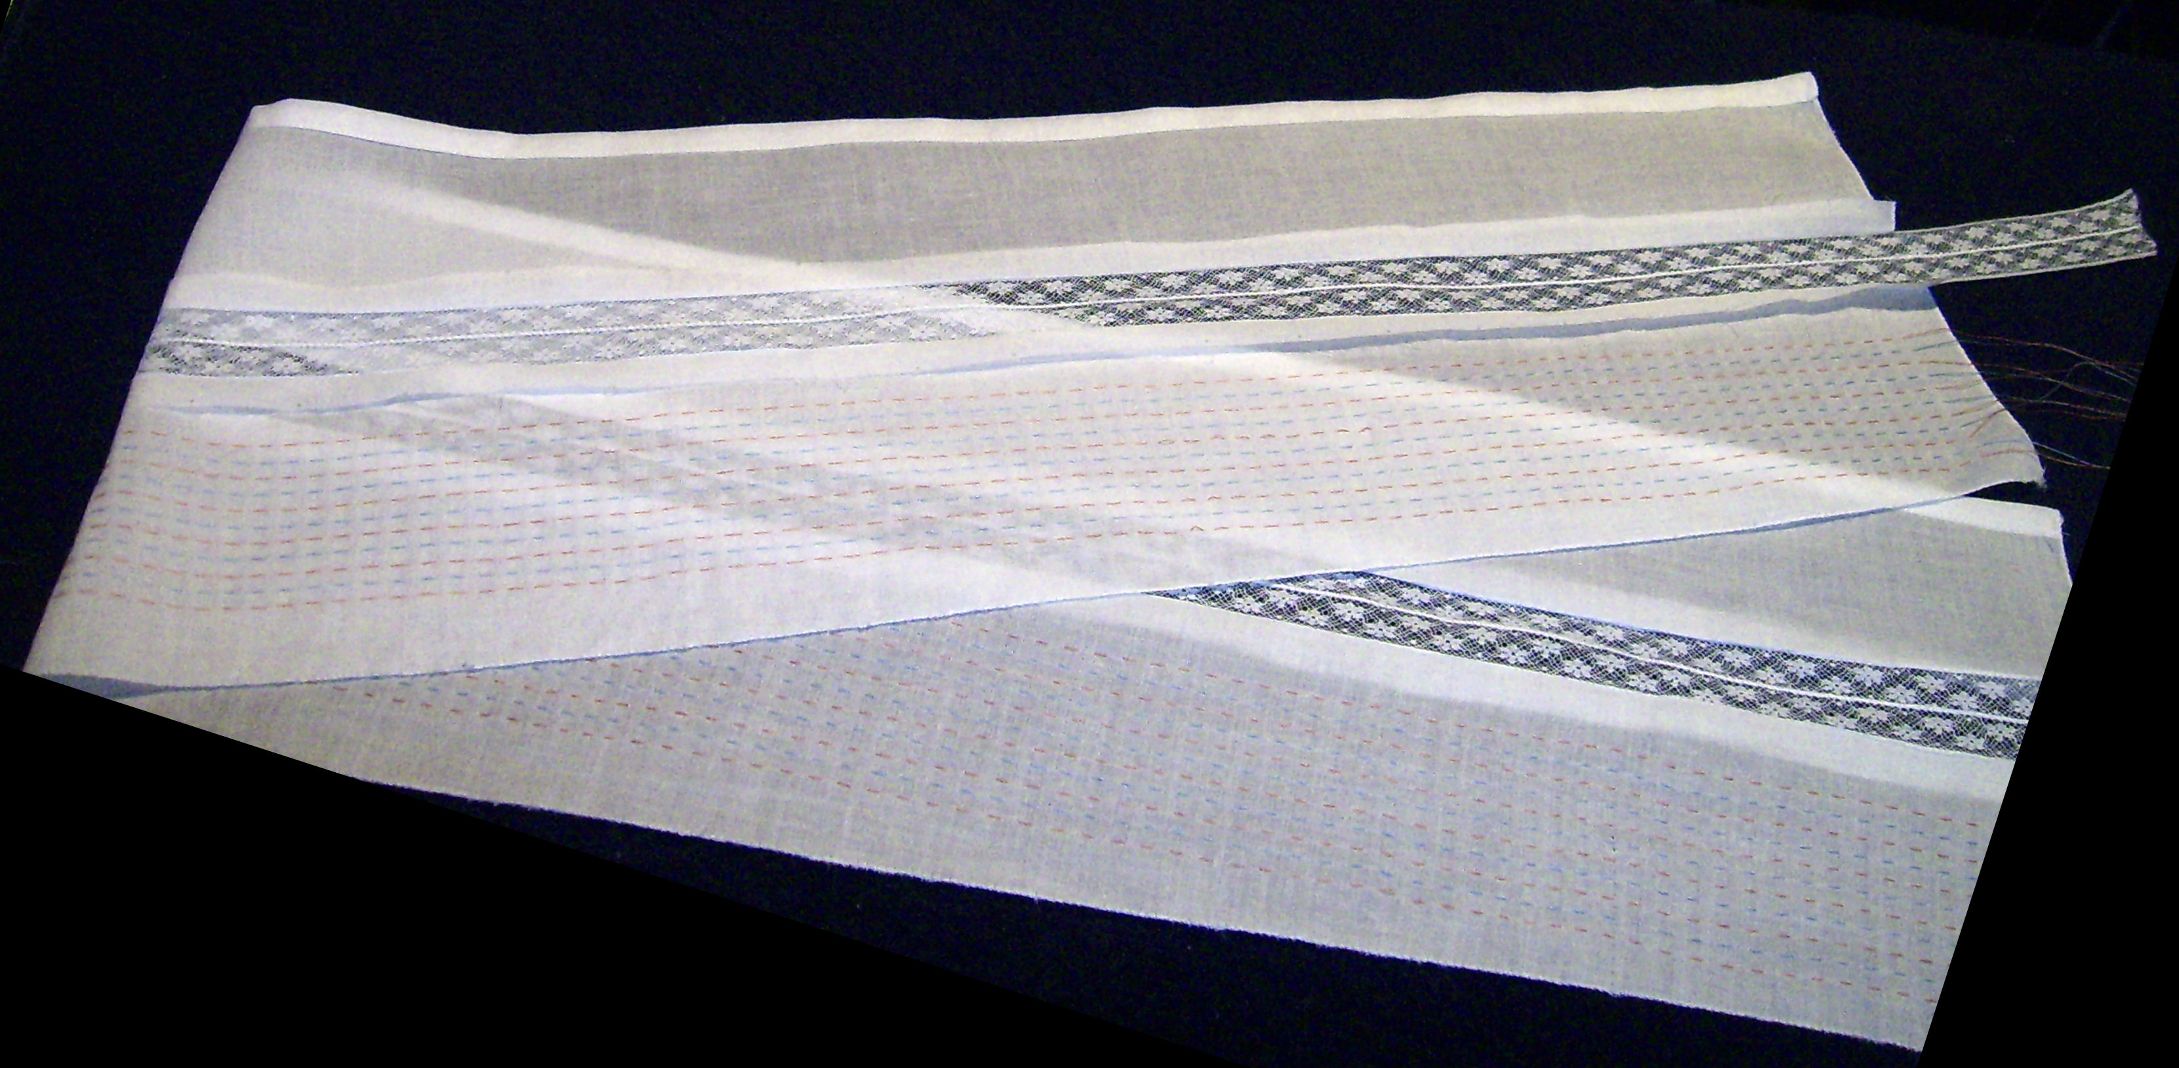
Press open. On the correct side of the cloth, use zigzag or pin stitch run up once again along each side of the insertion lace header. Press.
 On the wrong side of the cloth, trim the excess cloth along insertion lace border approximately 1/8" (iii mm) from the seam. Do not cutting the lace, the bonnet, or the stitches. Press. An alternative to this enhancement is the use two (2) lengths of ½" (13 mm) wide insertion lace attached to each side of a band of ¼" (7 mm) wide double sided pure silk ribbon.
Sewing the Pintucks
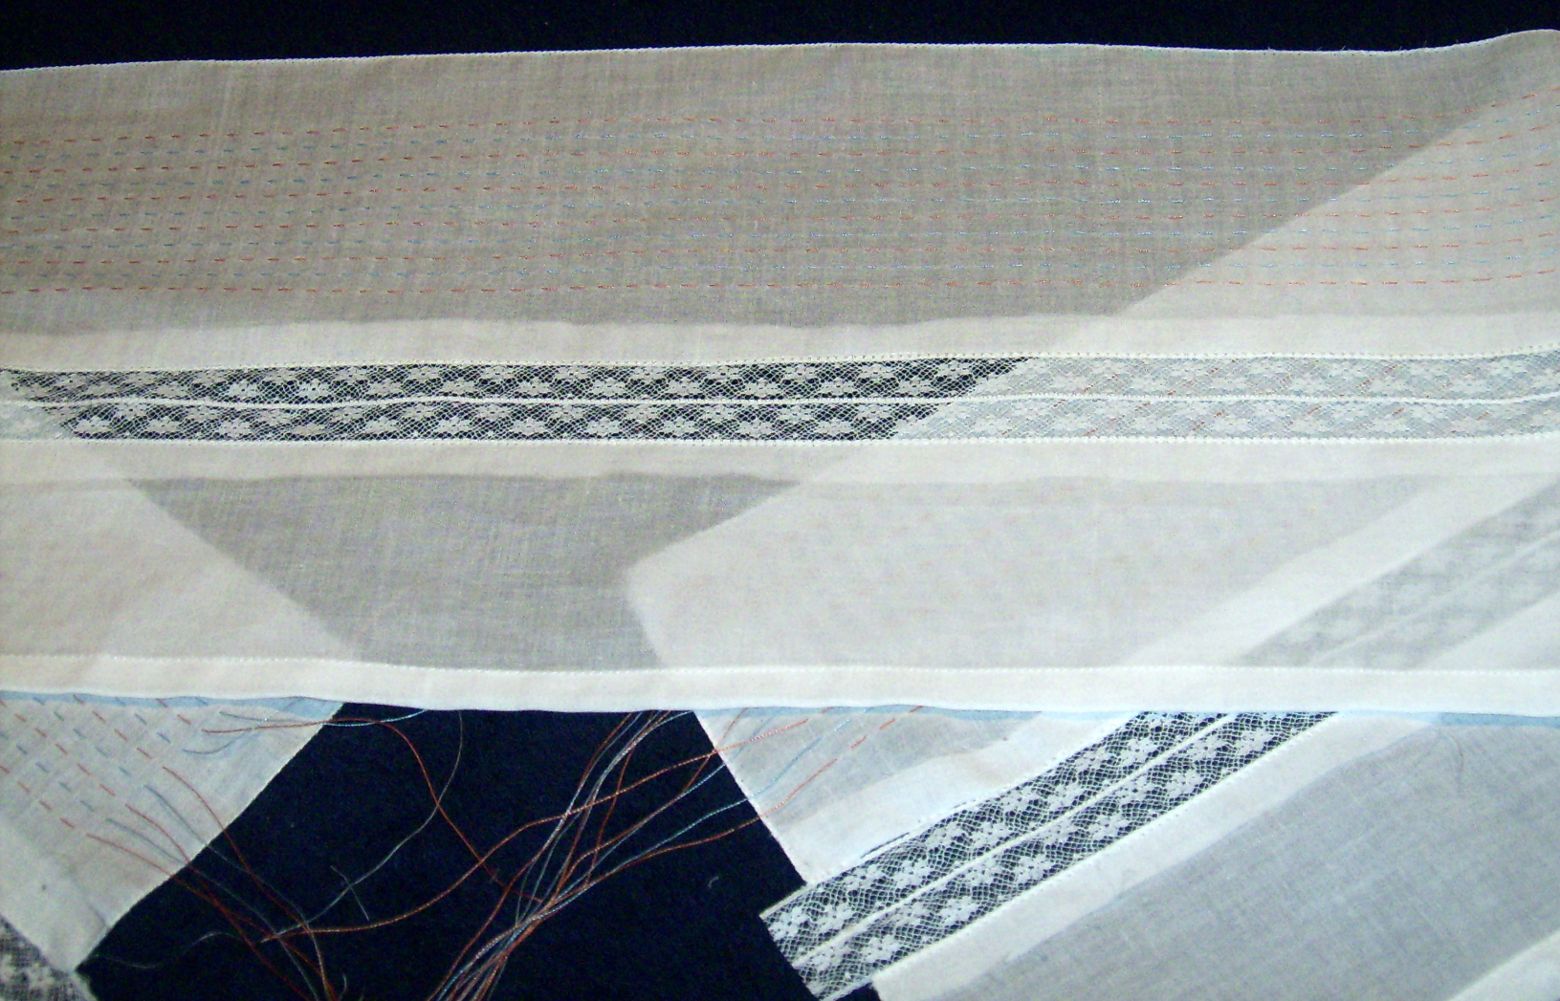
 Using the brusque straight sew and double (or twin) needles stitch 3 (3) rows of corded pintucks on each side of the insertion lace. Start past sewing the pintuck closest to the insertion lace. Position this pintuck approximately ½" (thirteen mm) from the lace header. Click here to see 'How to Sew Corded Pintucks'.
Attaching the Edging Lace
 Cut a piece of 1" (2.five cm) wide edging lace of approximately threescore" (152 cm). Starch and printing carefully not to stretch it. Place right sides together, matching the lace border and the whipped edge of the textile. Starting at one of the short edges and at about 3.5" (9 cm) from the crown edge seam and leaving a tail of minimum ane" (2.5 cm) of edging lace, adhere the lace to the textile. Employ zigzag sew such that the sewing automobile needle zigs in the lace header and zags just outside the edge of the fabric. At each of the corners of the skirt border and the short edge, pleat the edging lace to make two (2) ½" (2.5 cm) pleats. These pleats are done by folding approximately a total of i" (2.v cm) of the lace. Ane of these pleats is to be done but before the corner, that is, on the brusk edge, and the second pleat just after, that is, on the brim edge. Cease the attachment approximately 3.5" (9 cm) from the crown border seam. Leaving a tail of a minimum of i' (2.5 cm) edging lace.
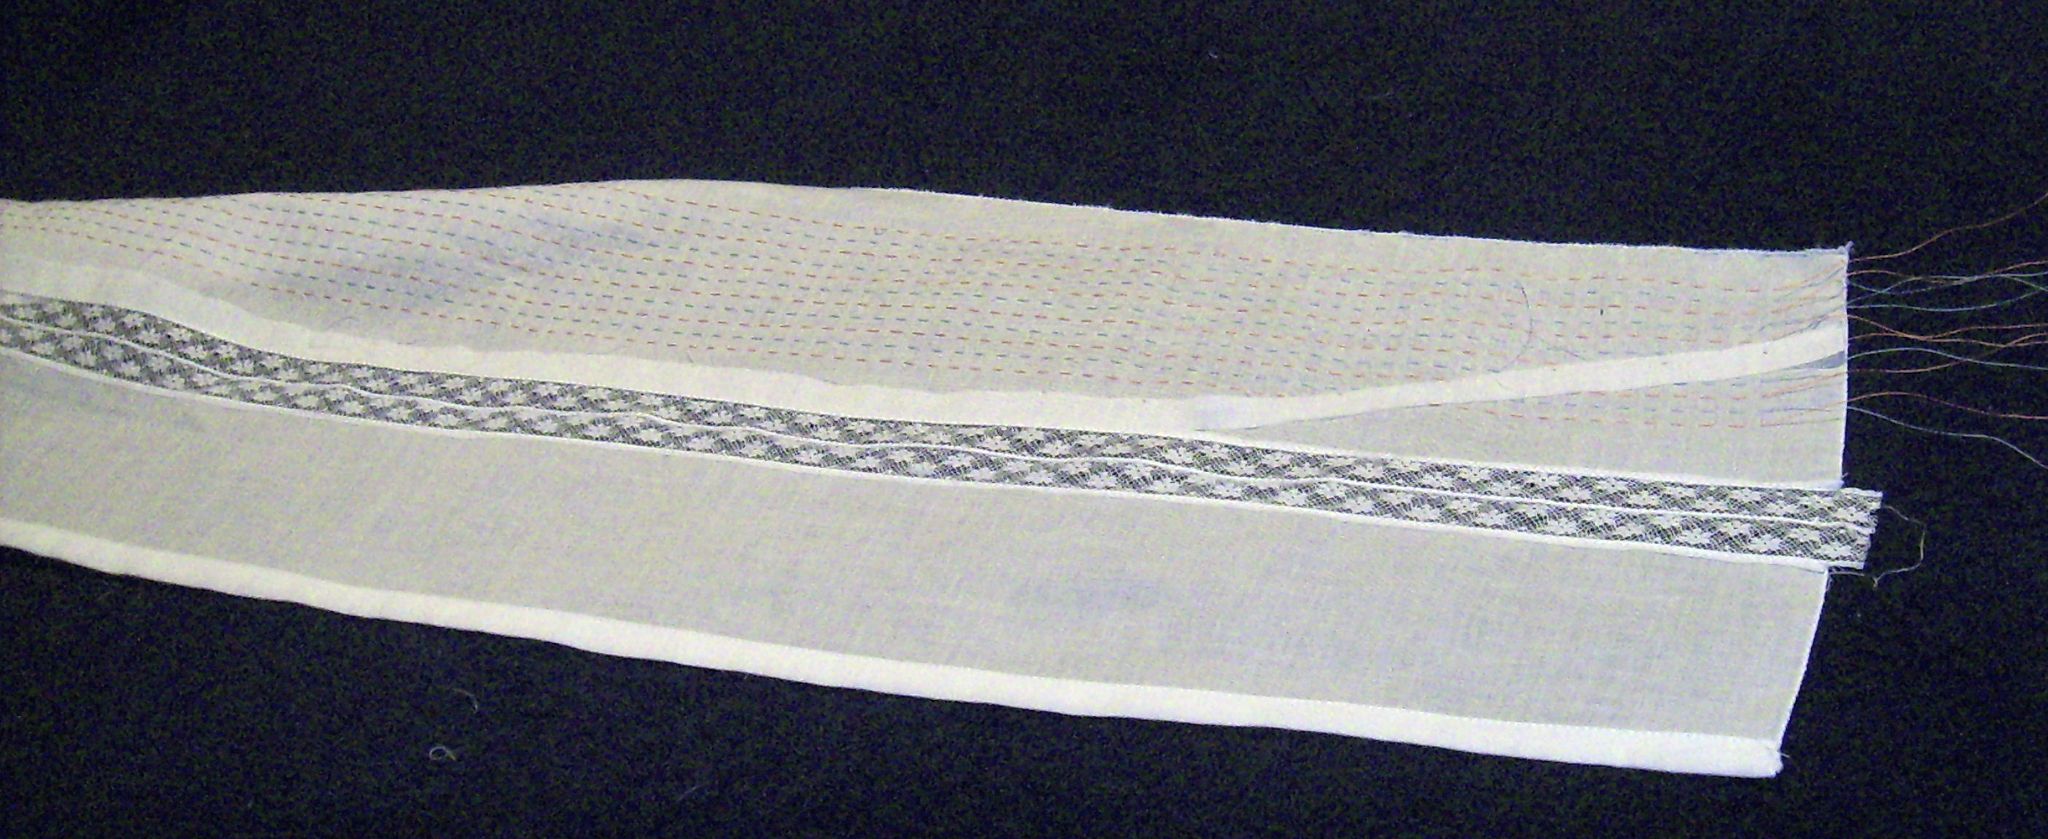
Preparing for Smocking
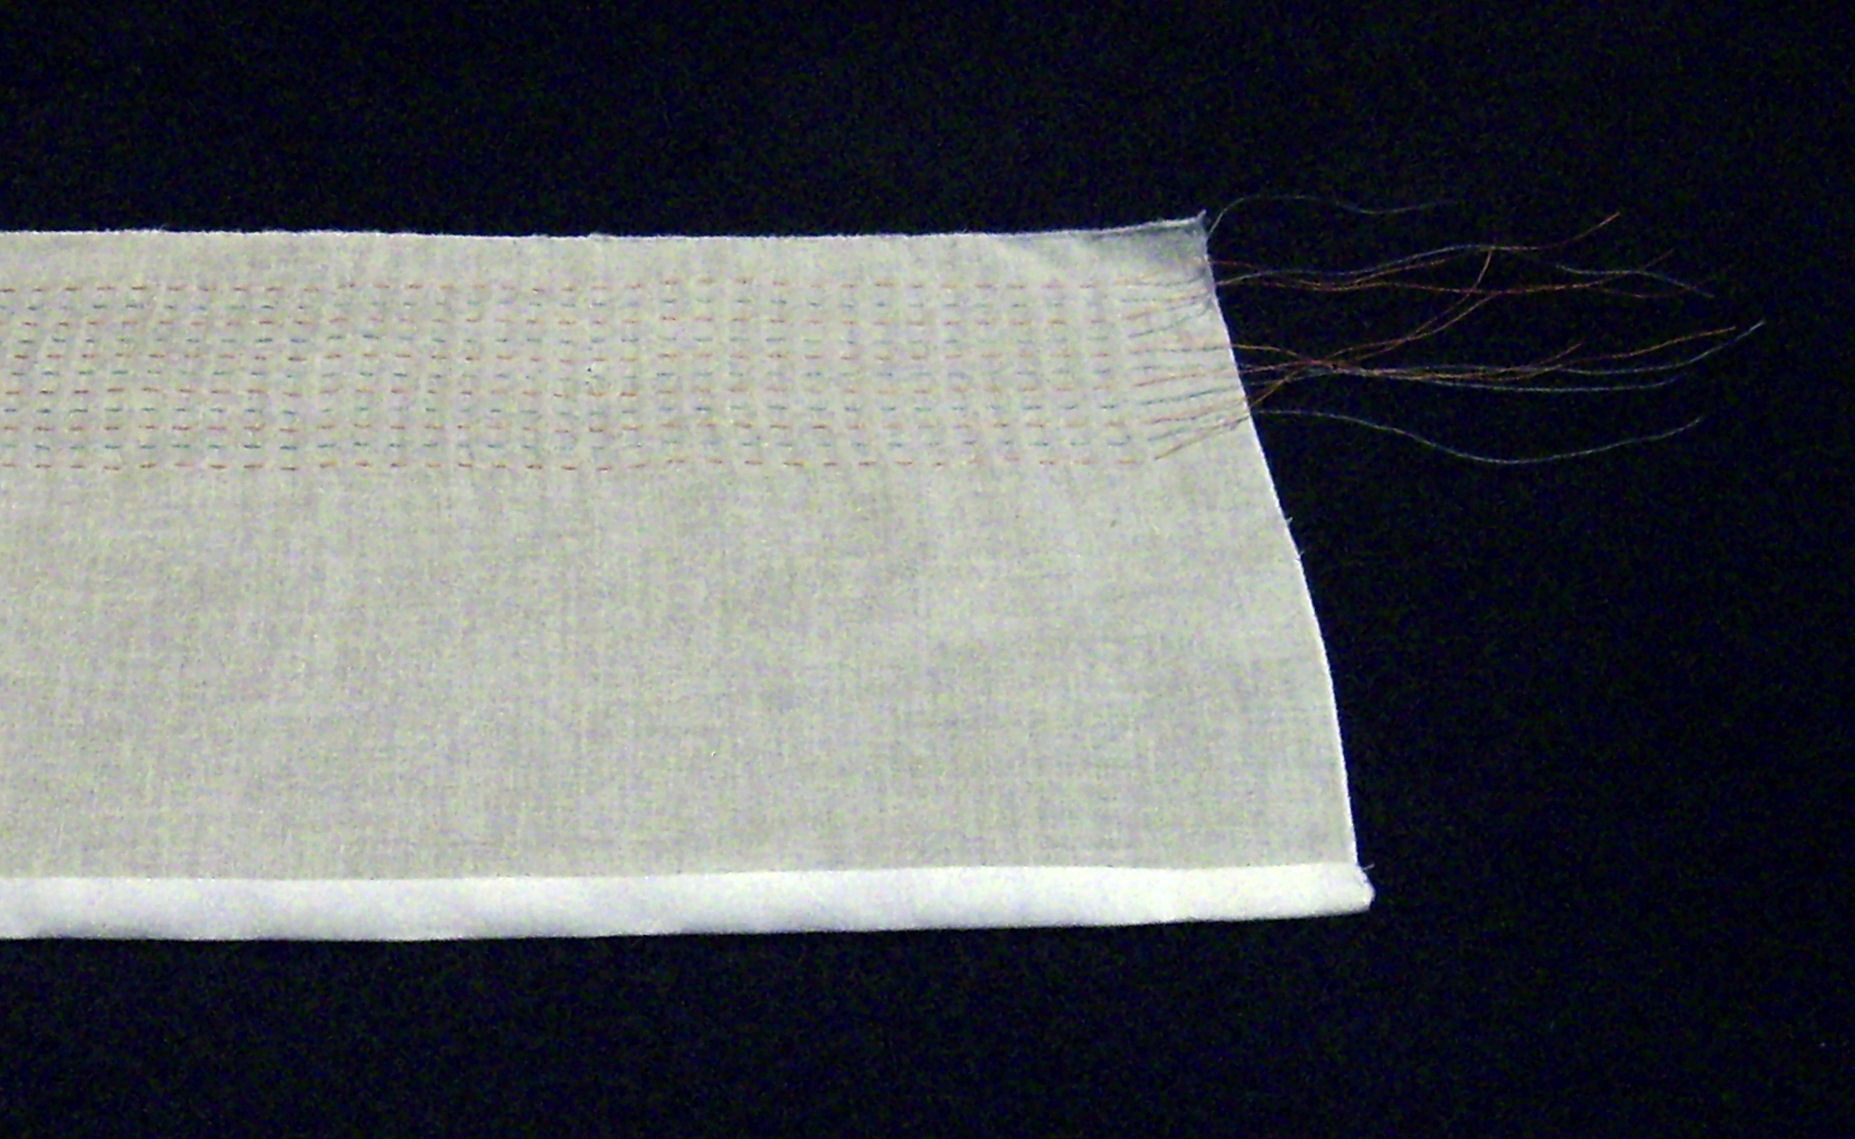
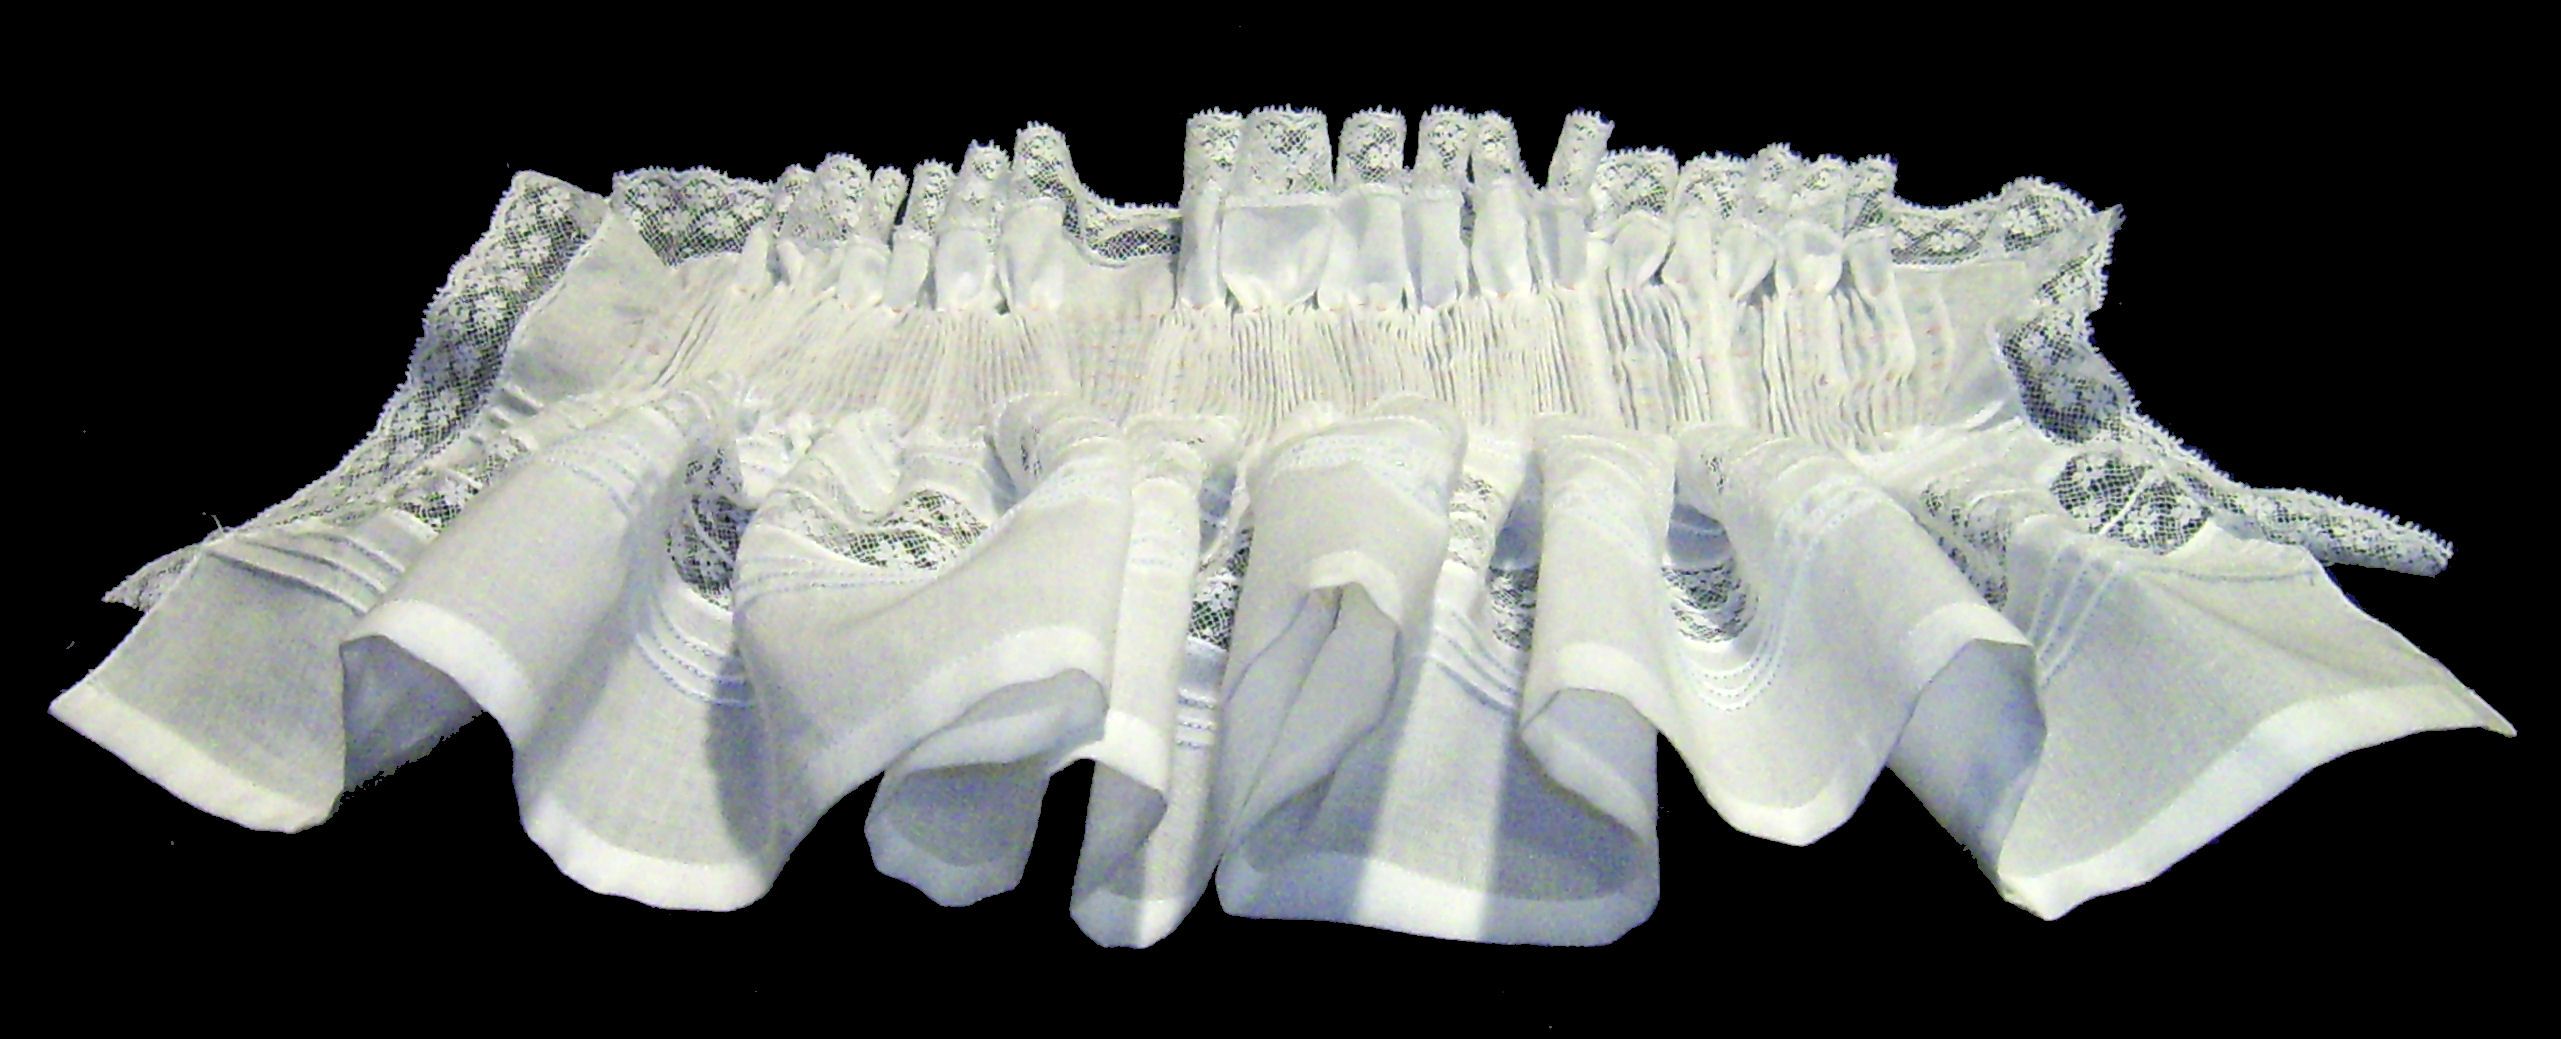 With wrong side upward and on 1 of the brusk edge, tie the pleating threads one (one) by 1 (one) or 2 (2) by 2 (two). When using a couple of pleating threads, practise this tie five (5) times and tie the last thread by itself. On the other short edge get together the pleating threads so that the length of the fabric is about ten" (25 cm) from pleating thread to pleating thread. Tie the 11 (ix) threads in 1 single knot, tie each thread individually, or tie these threads 2 (2) by two (two) every bit desired.
Smocking
Smock the design of choice. Do at least two (2) rows of back smocking to hold the bonnet's shape.
 Remove the pleating threads and block the smocked surface area to a length (from ear lobe to ear lobe) according to the preceding size table. Enhance the smocking by adding bullion knots roses, bullion roses, or cast-on stitch flowers, if desired.
Attaching the nether the Chin Ribbon
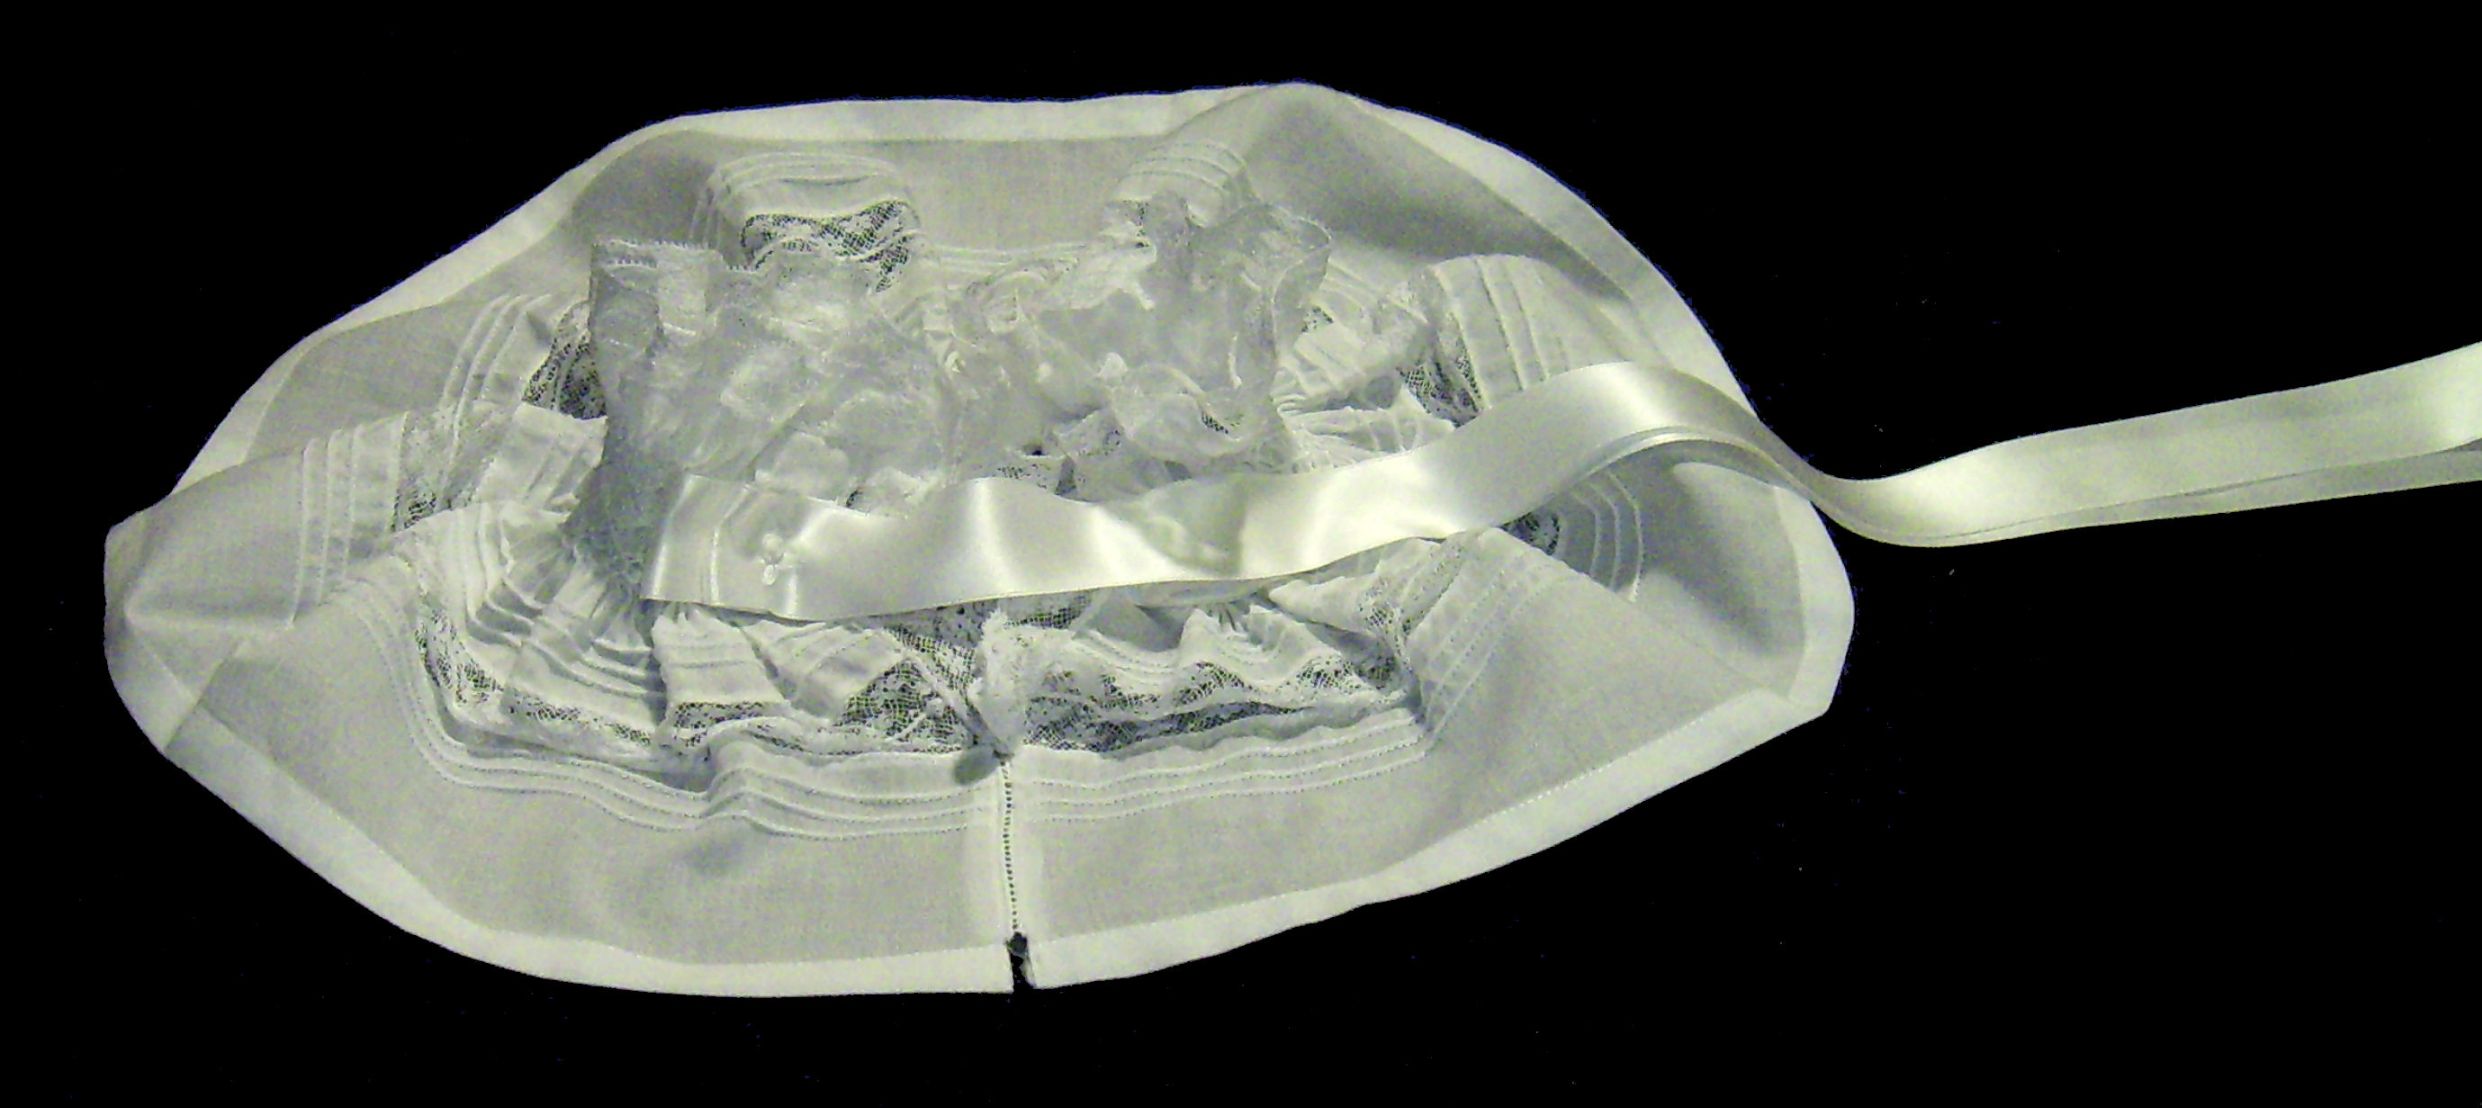
 On the right side of the bonnet, attach each end of a 60" length of 1" (2.5 cm) wide double sided pure silk ribbon to each brusque side of the bonnet.
Fold the ends of the ribbon once or twice as desired and identify this fold in the centre and at the beginning of the smocked stitches.
To attach the nether the chin ribbon make three (3) very small stitches to secure the kickoff of the seam. Set the motorcar to the largest sew. Brand ane sew together forrard. Reverse the stitch and make one sew. Repeat this process two (2) more times to have a total of seven (7) large stitches. Apply an fifty-fifty number of large stitches so that the beginning and stop of the under the chin ribbon attachment is at opposite sides. End with iii (iii) very small stitches to secure the end of the seam.
On these stitches, add a ribbon rosette, or a small bullion knot rose on each side of the bonnet as desired.
Note: One reward of attaching the nether the chin ribbon after the bonnet is blocked is that the bullion knot roses on the smocked surface area and the bullion knot roses on each side of the under the mentum ribbon may exist done repetitively.
Endmost the Dorsum
 With correct sides together and starting just at the cease of the crown case seam, attach a piece of entredeux (approximately 3.five" (9 cm) to each side of the curt edges. Utilize a short directly stitch to attach the edge of the entredeux batiste and the border of the whipped fabric. Press. This slice of entredeux connects the babe'southward bonnet at the dorsum neck border and should stop just where the edging lace is fastened to the rectangle. With right side together and matching edges utilize a zigzag stitch to attach the two (2) tails of edging lace and trim the excess. Stop the back of the bonnet by mitt stitching the center of the entredeux to the lace seam. This finishing seam will take ii (2) or iii (iii) manus stitches.
Closing The Crown
Run approximately 24" (61 cm) of 1/8" (3 mm) wide double faced pure silk ribbon through the casing. Draw upwards the ribbon to form a circle in back and tie in a bow. The size of this circumvolve may vary to allow for modest size adjustments.
Note: These instructions include interchangeable steps. For example closing the back and attaching the under the chin ribbon may be done in reverse guild. For simpler bonnets omit the edging lace, the insertion lace, and/or corded pintucks. Further simplification include the omission of edging lace from the neckline replacing it with a hem edge. Closing the bonnet at the back omitting the entredeux is also a simplification to be considered.
Printing of these teaching for personal utilise to make and sell bonnets is immune. The selling of these instructions or its inclusion in whatever collections for auction is prohibited. When teaching a form, the use of these instructions is allowed only when the class is taught 'free of charge'. These permissions and prohibitions include the individual pictures. (c) 2010. All rights remain with Bumba Bella Boutique.
conradagempiesent.blogspot.com
Source: https://www.bumbabella.com/how_to_make_hand_smocked_bonnet
0 Response to "How to Make a Bonnet for a Baby Doll"
Post a Comment